AION 2 Hack with Full Bot Automation and Class Rotation

Currently in BETA, in development

Only the Global version on Steam supported
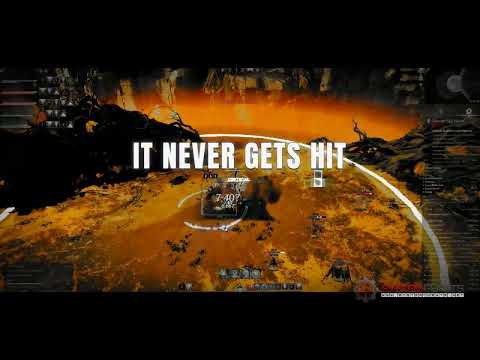
Cheat video
Cheat video
Cheat video
Cheat video
Cheat video
Cheat video
Cheat video
Cheat video
AION 2 Bot
AION 2 Hack
AION 2 Bot Automation
AION 2 Cheat
AION 2 ESP
AION 2 Hacks
MMORPG bot • Level 1 to 45 • Global PC only

AION 2 Hack with Full Bot Automation and Class Rotation

Explore the AION 2 Cheat for PC.

AION 2 is NC’s fantasy MMORPG set in Atreia. Elyos and Asmodians explore a world built around flight, PvE and faction conflict. The Global game is available on Windows PC through Steam and PURPLE. Its class choices cover melee fighters, ranged damage, summoning, tanking and healing. A character’s progress involves quests, combat and equipment, with solo places and group dungeons offering different activities.

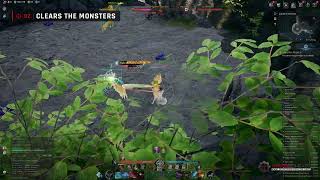
Our AION 2 Bot focuses on that routine. Automation handles travel, questing, gathering and farming, while Bot Assist handles the skill rotation. The bot levels a character from level 1 to 45 all on its own. Its scope includes Rifts, the Abyss, sealed dungeons and strongholds. Class profiles let you tune how your character fights instead of applying one combat setup to all classes.

The bot thinks for itself. It finds your class on its own and loads the right profile. It dodges red ground zones in a fight, checks the time left before it starts a Rift task, and tells you on the HUD what each task is doing or why it waits. You choose the tasks, and the bot works out the rest.

Bot briefing
Build Your Routine Around Your Class

Set the combat profile, choose the tasks and follow their progress from the HUD. The AION 2 hack is a full bot. It quests, farms and fights for you with your class rotation. The AION 2 bot is in development. Access follows the beta. Check the live cheat status page before buying.

AION 2 Hack and Cheat Features

Start with Bot Assist and Automation, then tune the supporting tabs. The highlights are below, and the full option list is in the Features panel on this page.

  • Bot Assist and Class ProfilesRotation Assist uses your skills when you play by hand. Use Class Profiles selects your class settings, while Skip Skills on Cooldown and Follow Combo Chains control skill use.
  • Questing from Level 1 to 45Quest Helper handles the tracked story, including conversations, fights and objects. Gather While Questing adds selected gathering along the route.
  • Gathering, Dailies and FarmsCombine Gather and Grind, or use Pet Farm for unfinished pets. Daily Run claims attendance, plays Nightmare and takes the duties with the rewards you want.
  • Sealed Dungeons and StrongholdsAuto Explore clears open, unfinished places. Do Sealed Dungeons and Do Strongholds add them while questing. Sealed dungeons and strongholds are done to 100%, escorts included.
  • Rifts and AbyssRift Run enters the opposing territory for its visit. Abyss Farm works Lower Reshanta by itself, with Fight Monsters, Gather Odyle and Collect Empyrean Traces.
  • Avoidance and PathsDodge Attack Zones and Avoid Damage Fields keep you out of attacks on the ground. Record Path saves your route, and Draw Route shows it on screen.
  • Visuals and RadarPlayer Class ESP, Player Race ESP and NPC Name ESP label contacts, and Player Combat Power ESP shows how strong a player is. Show Radar adds the radar, with Show Path for routes.
  • HUD and WarningsInfo Box shows character and target details. Bots Window explains task states. A Player Targets You warns when another player selects you.
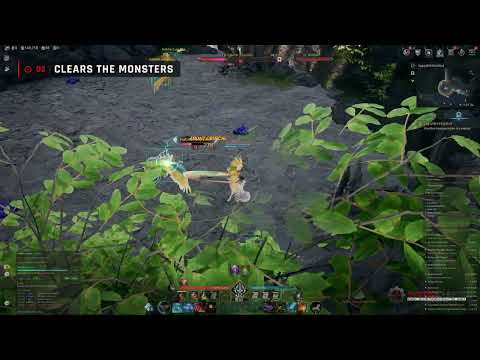
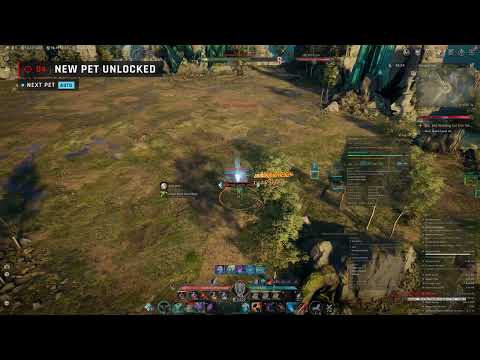
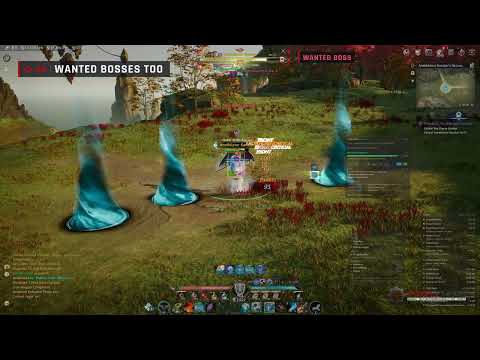
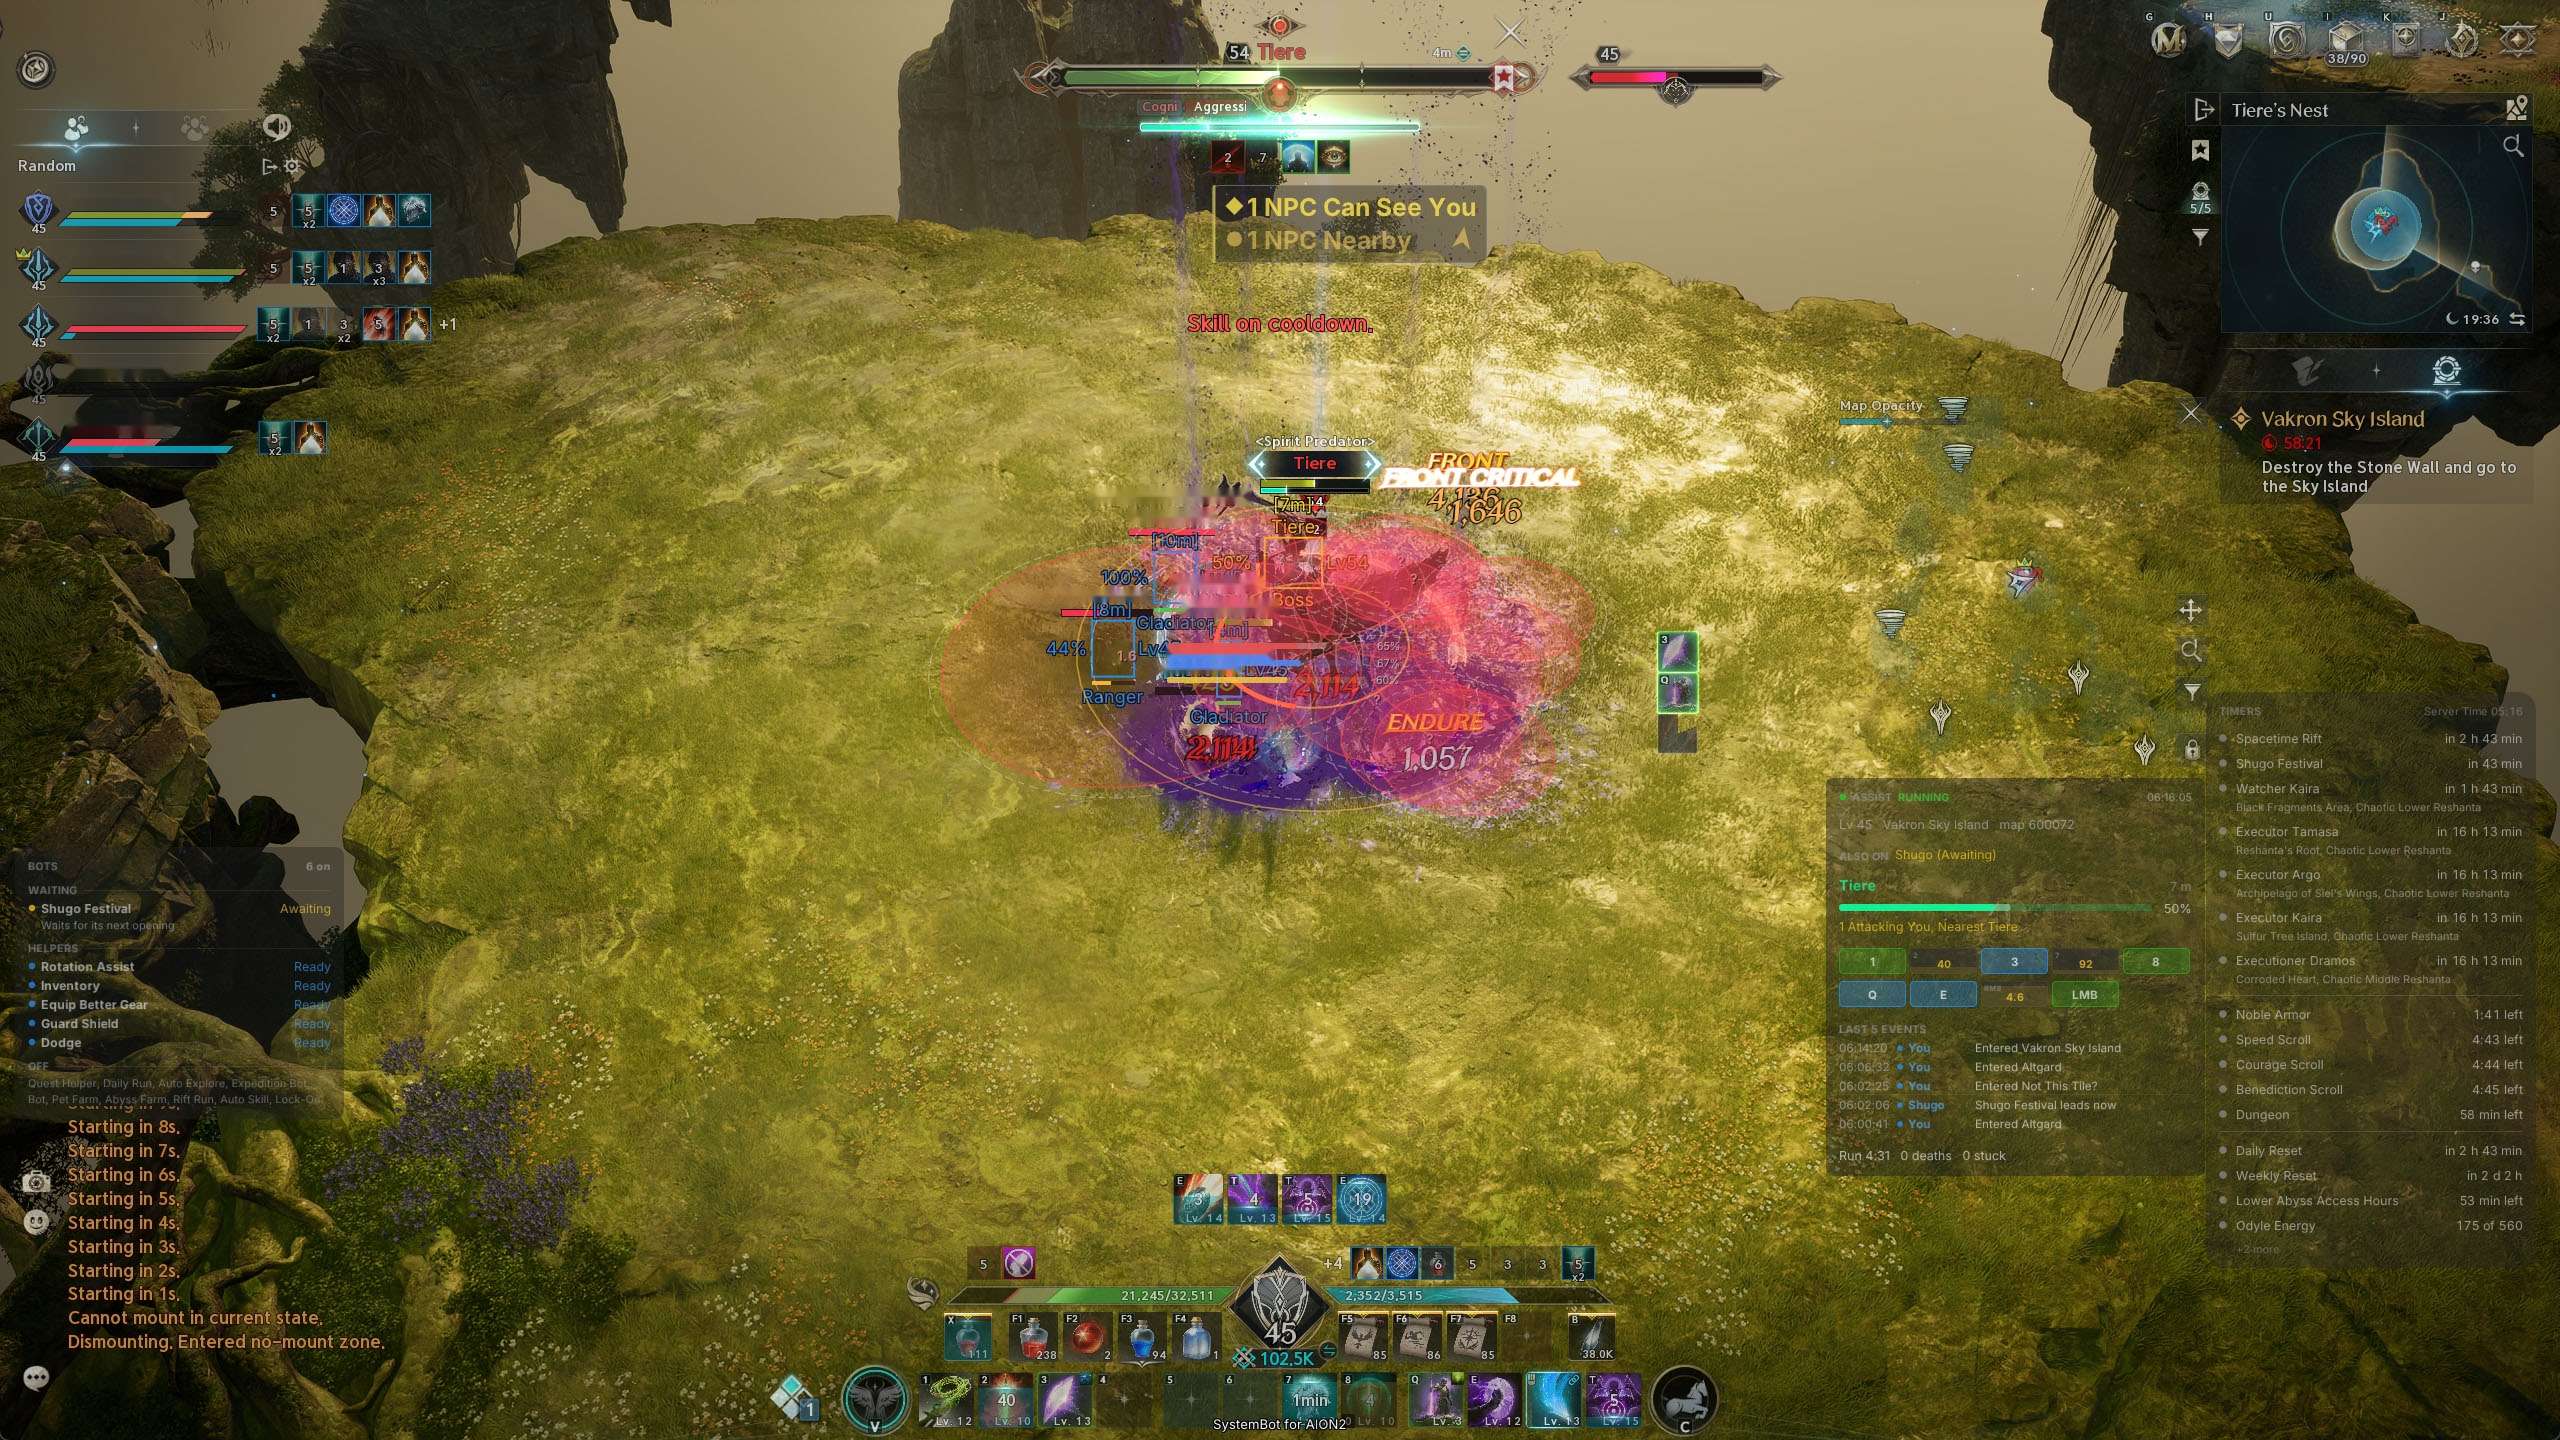
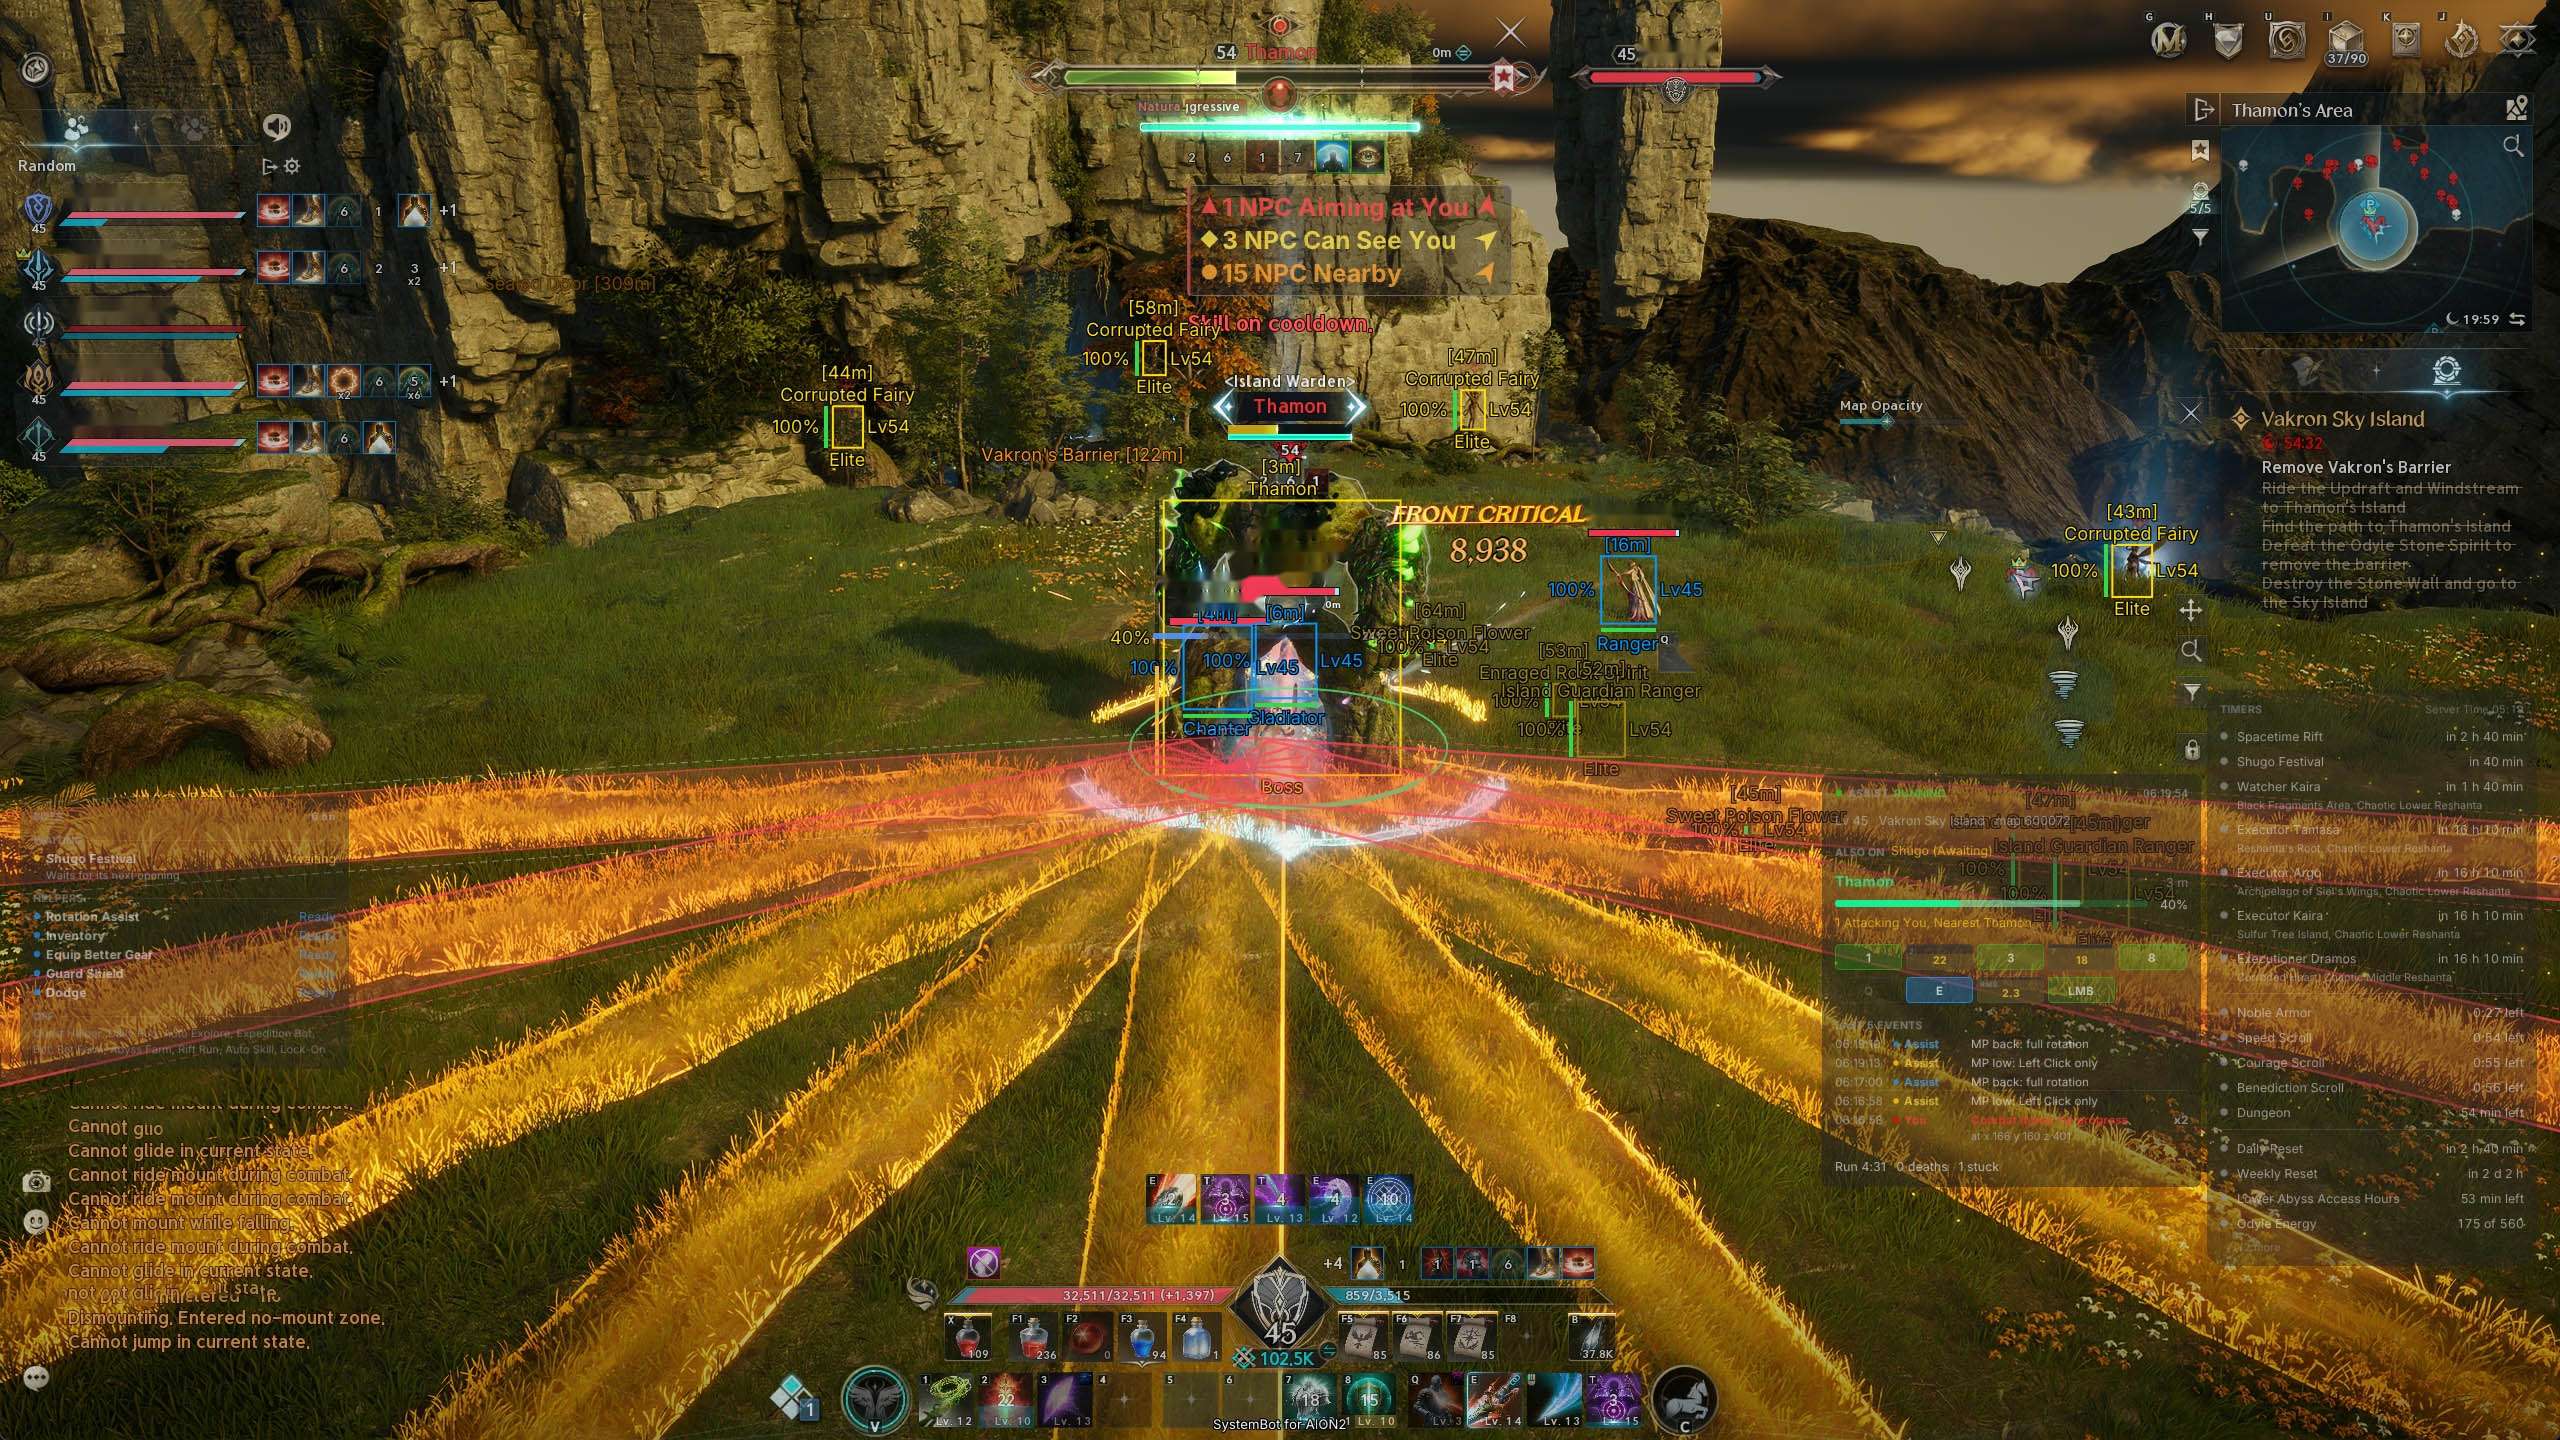
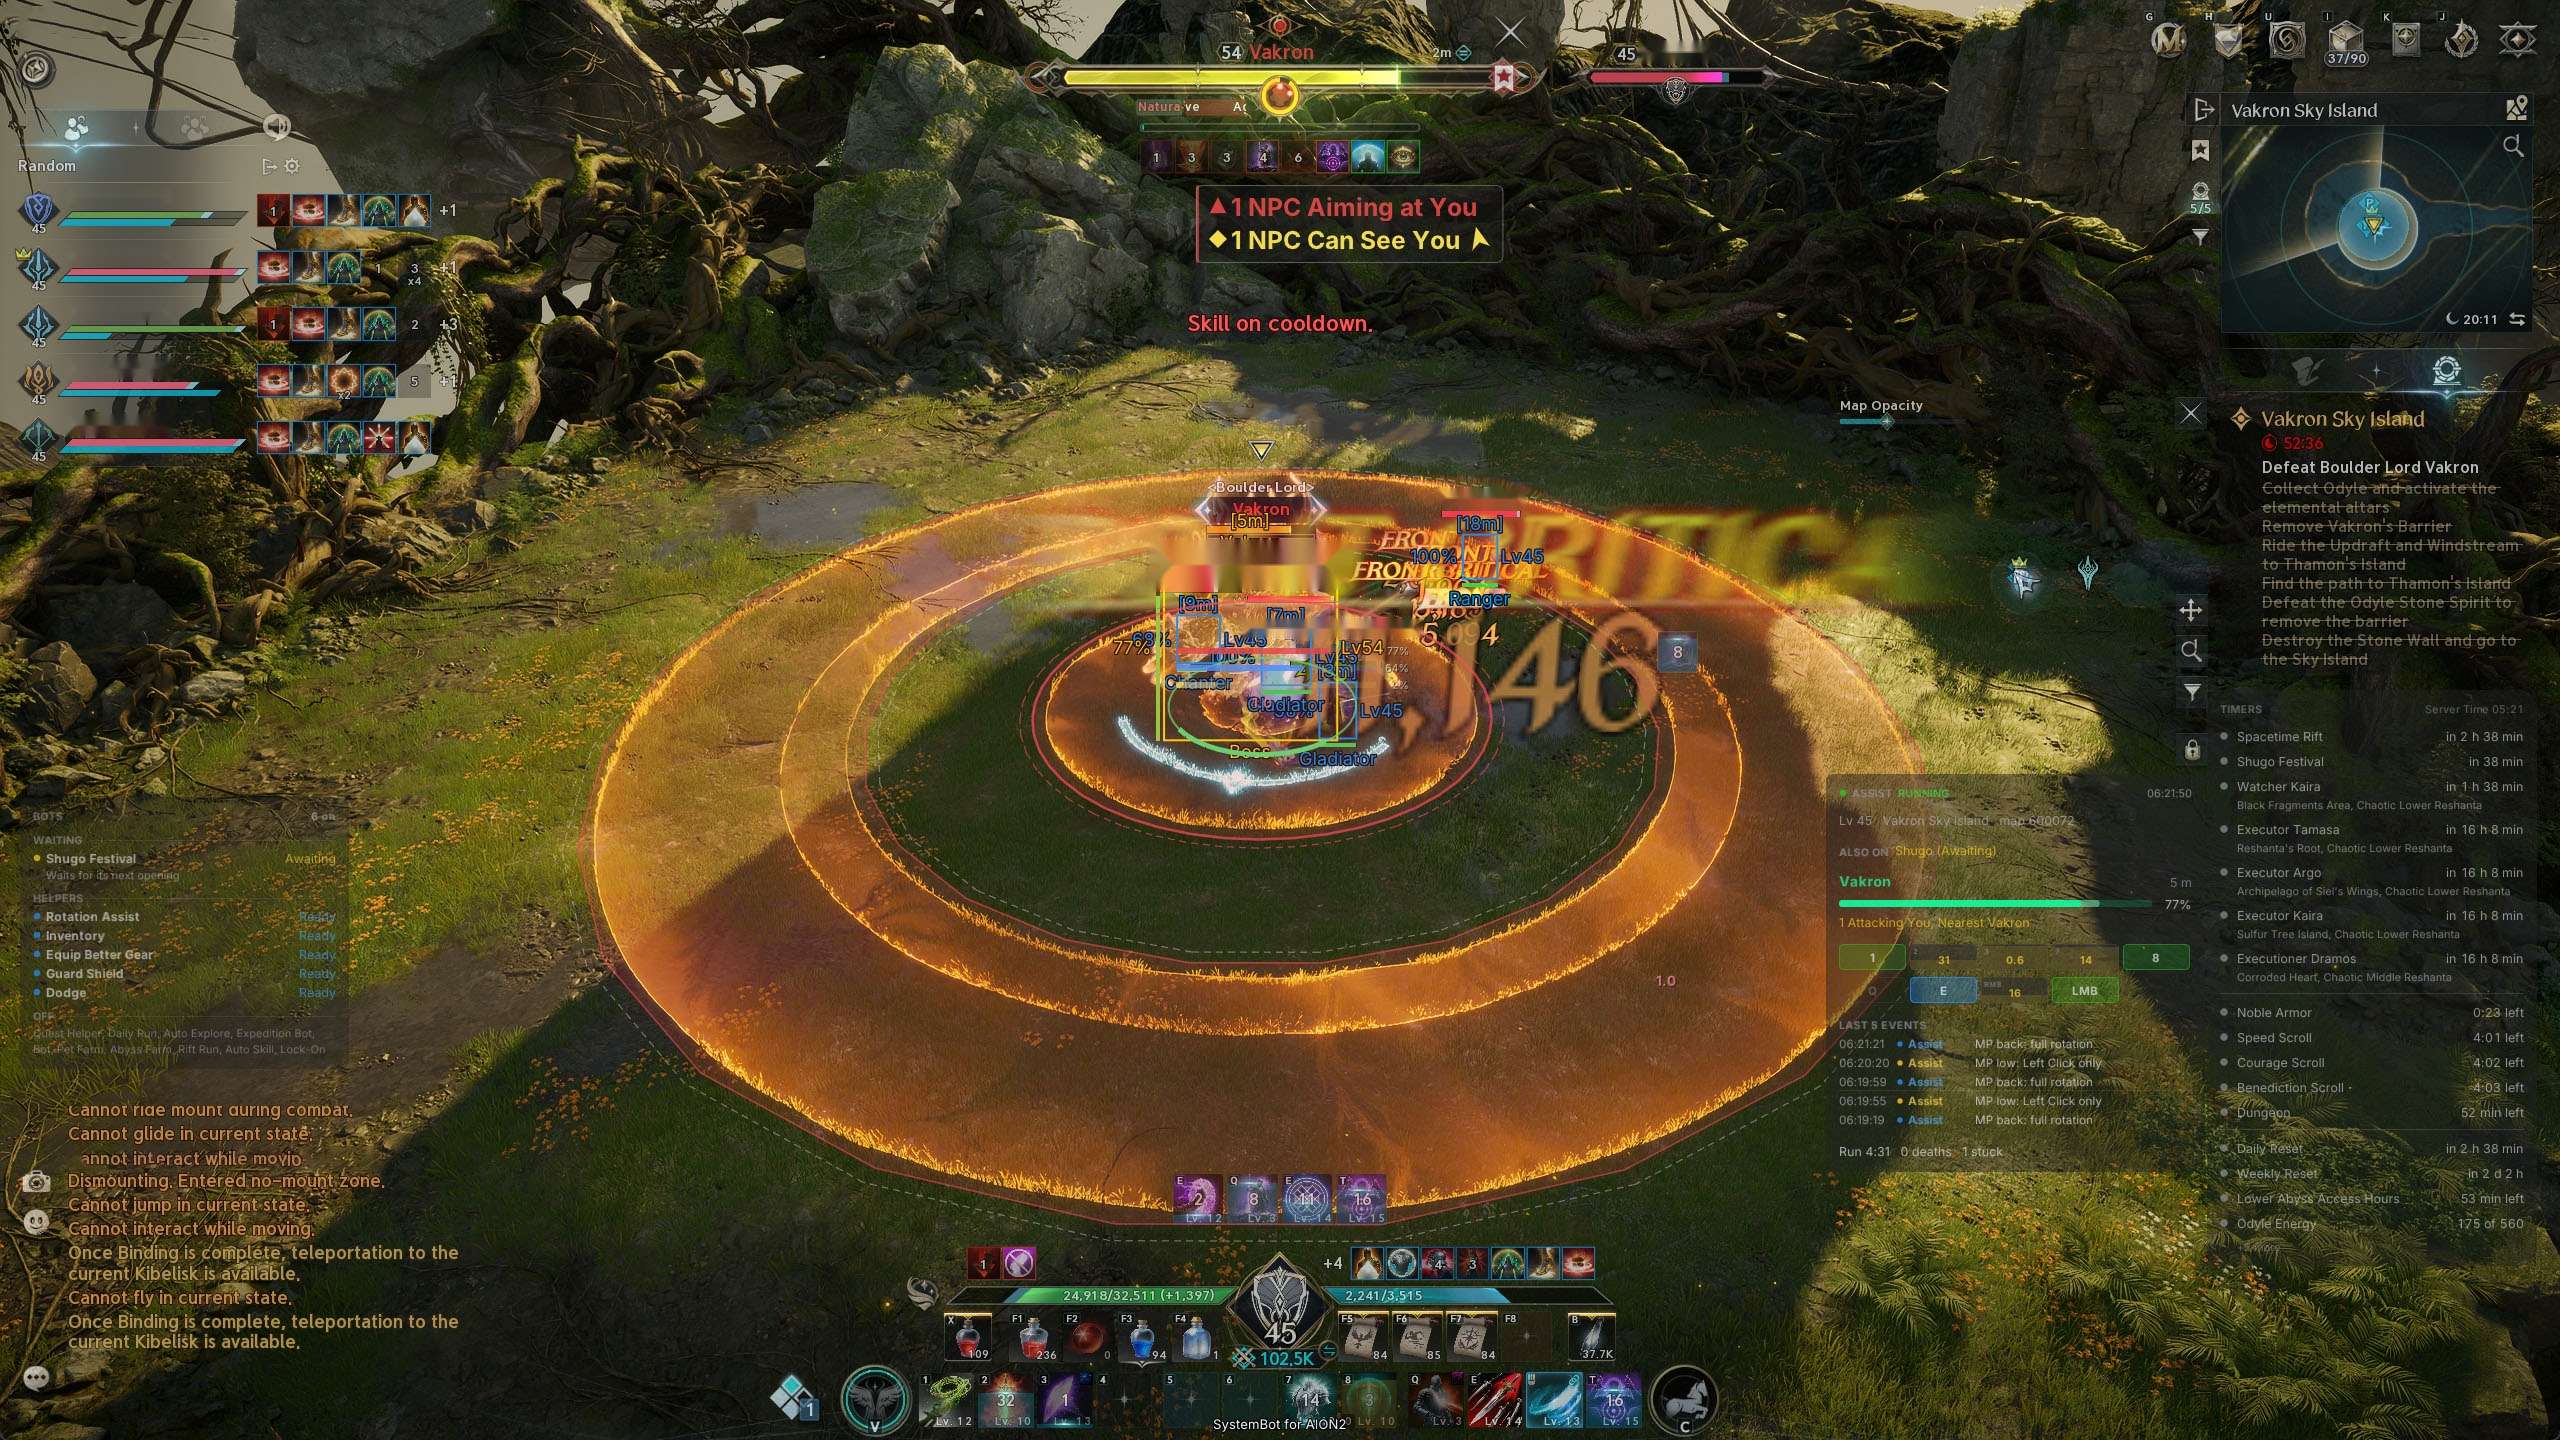
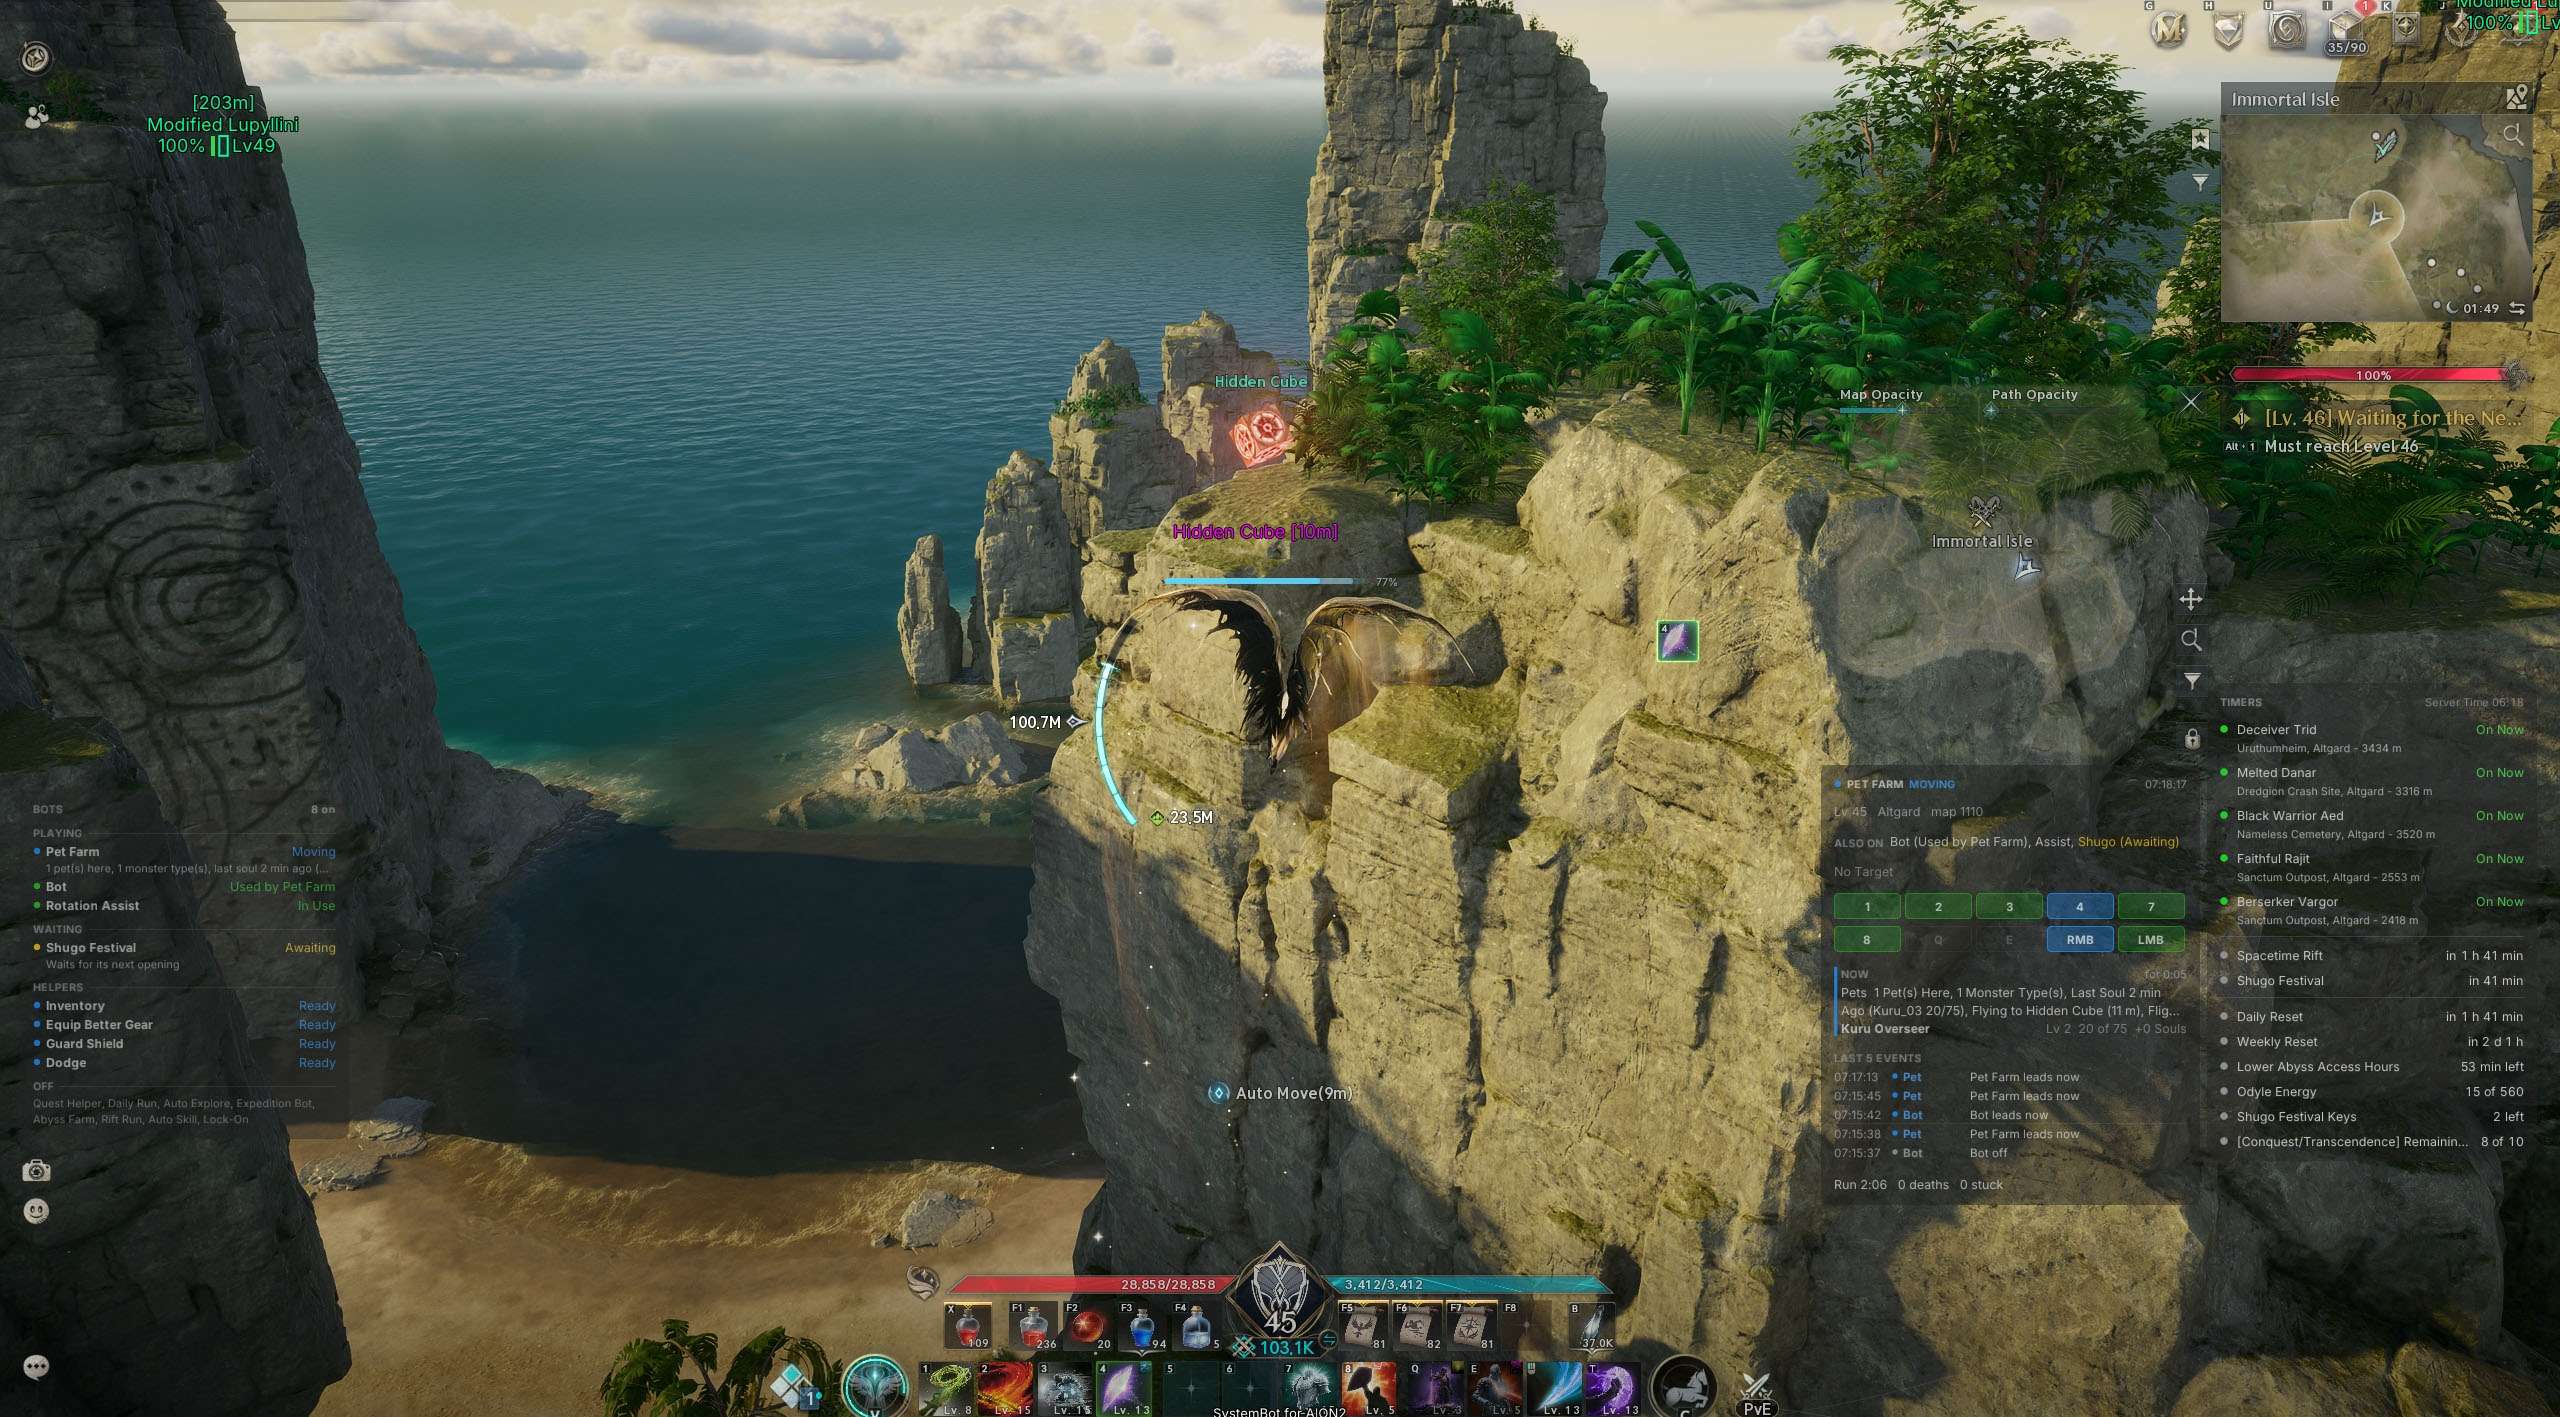
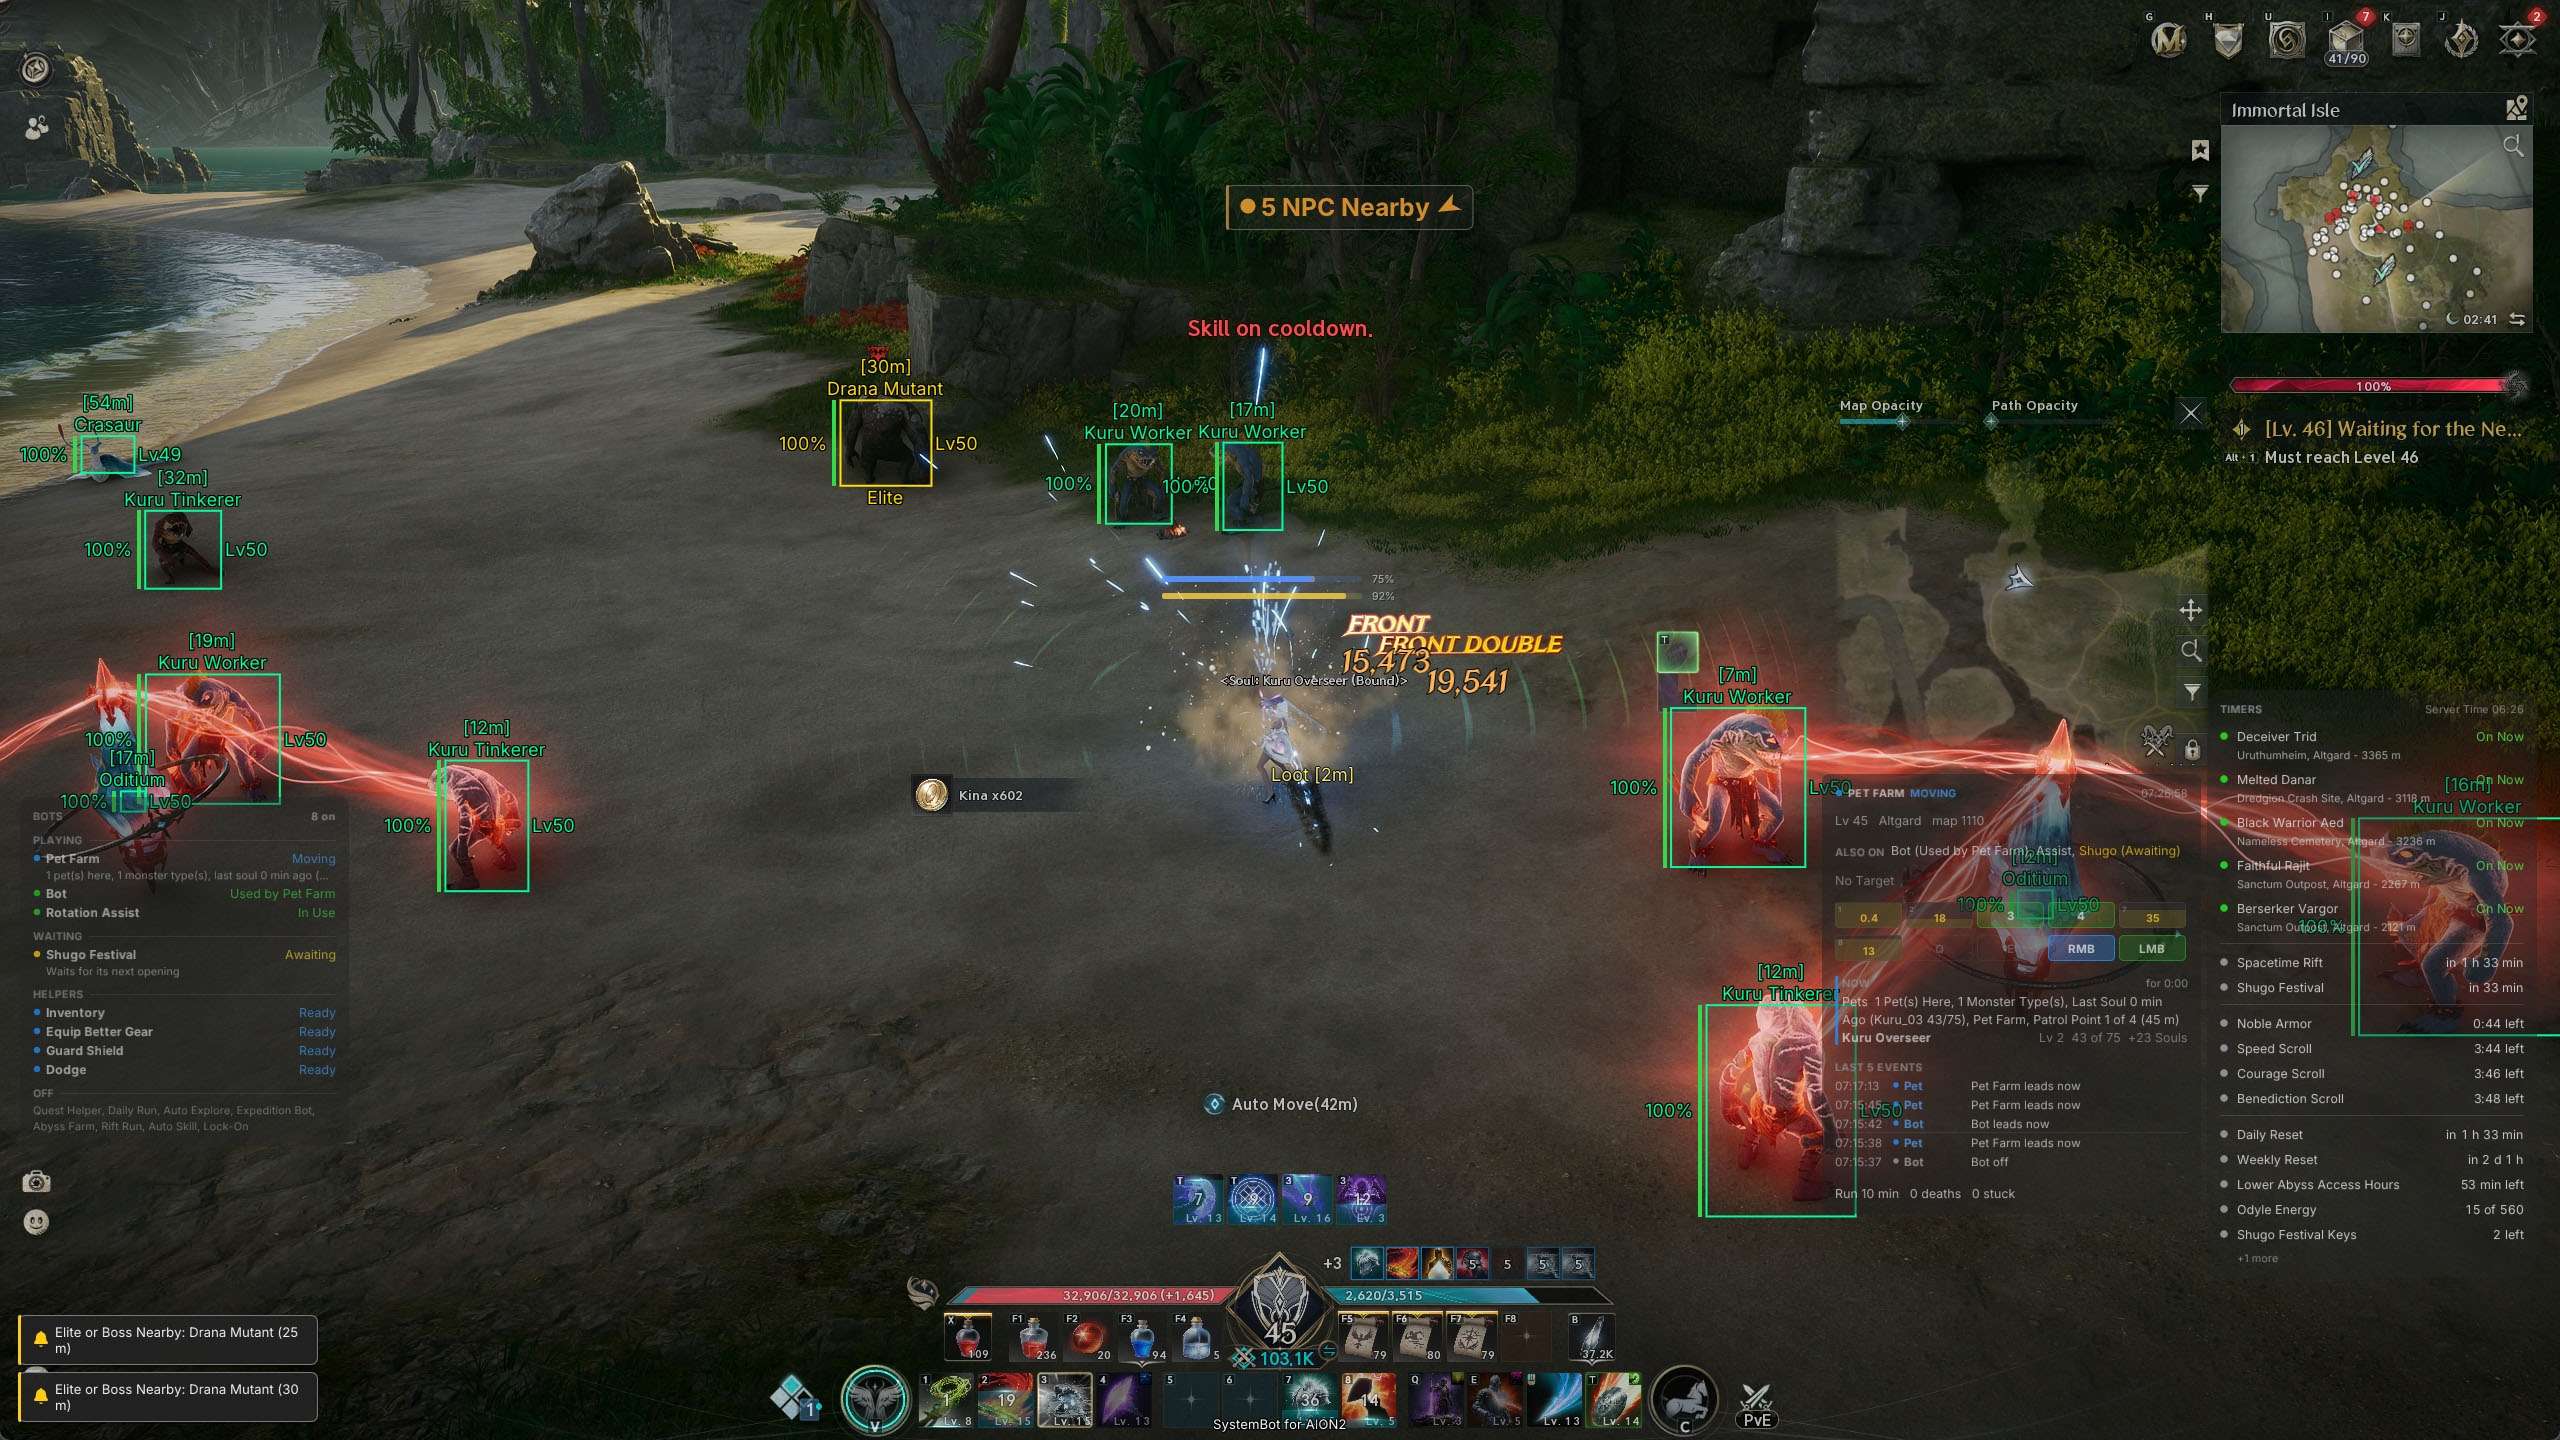
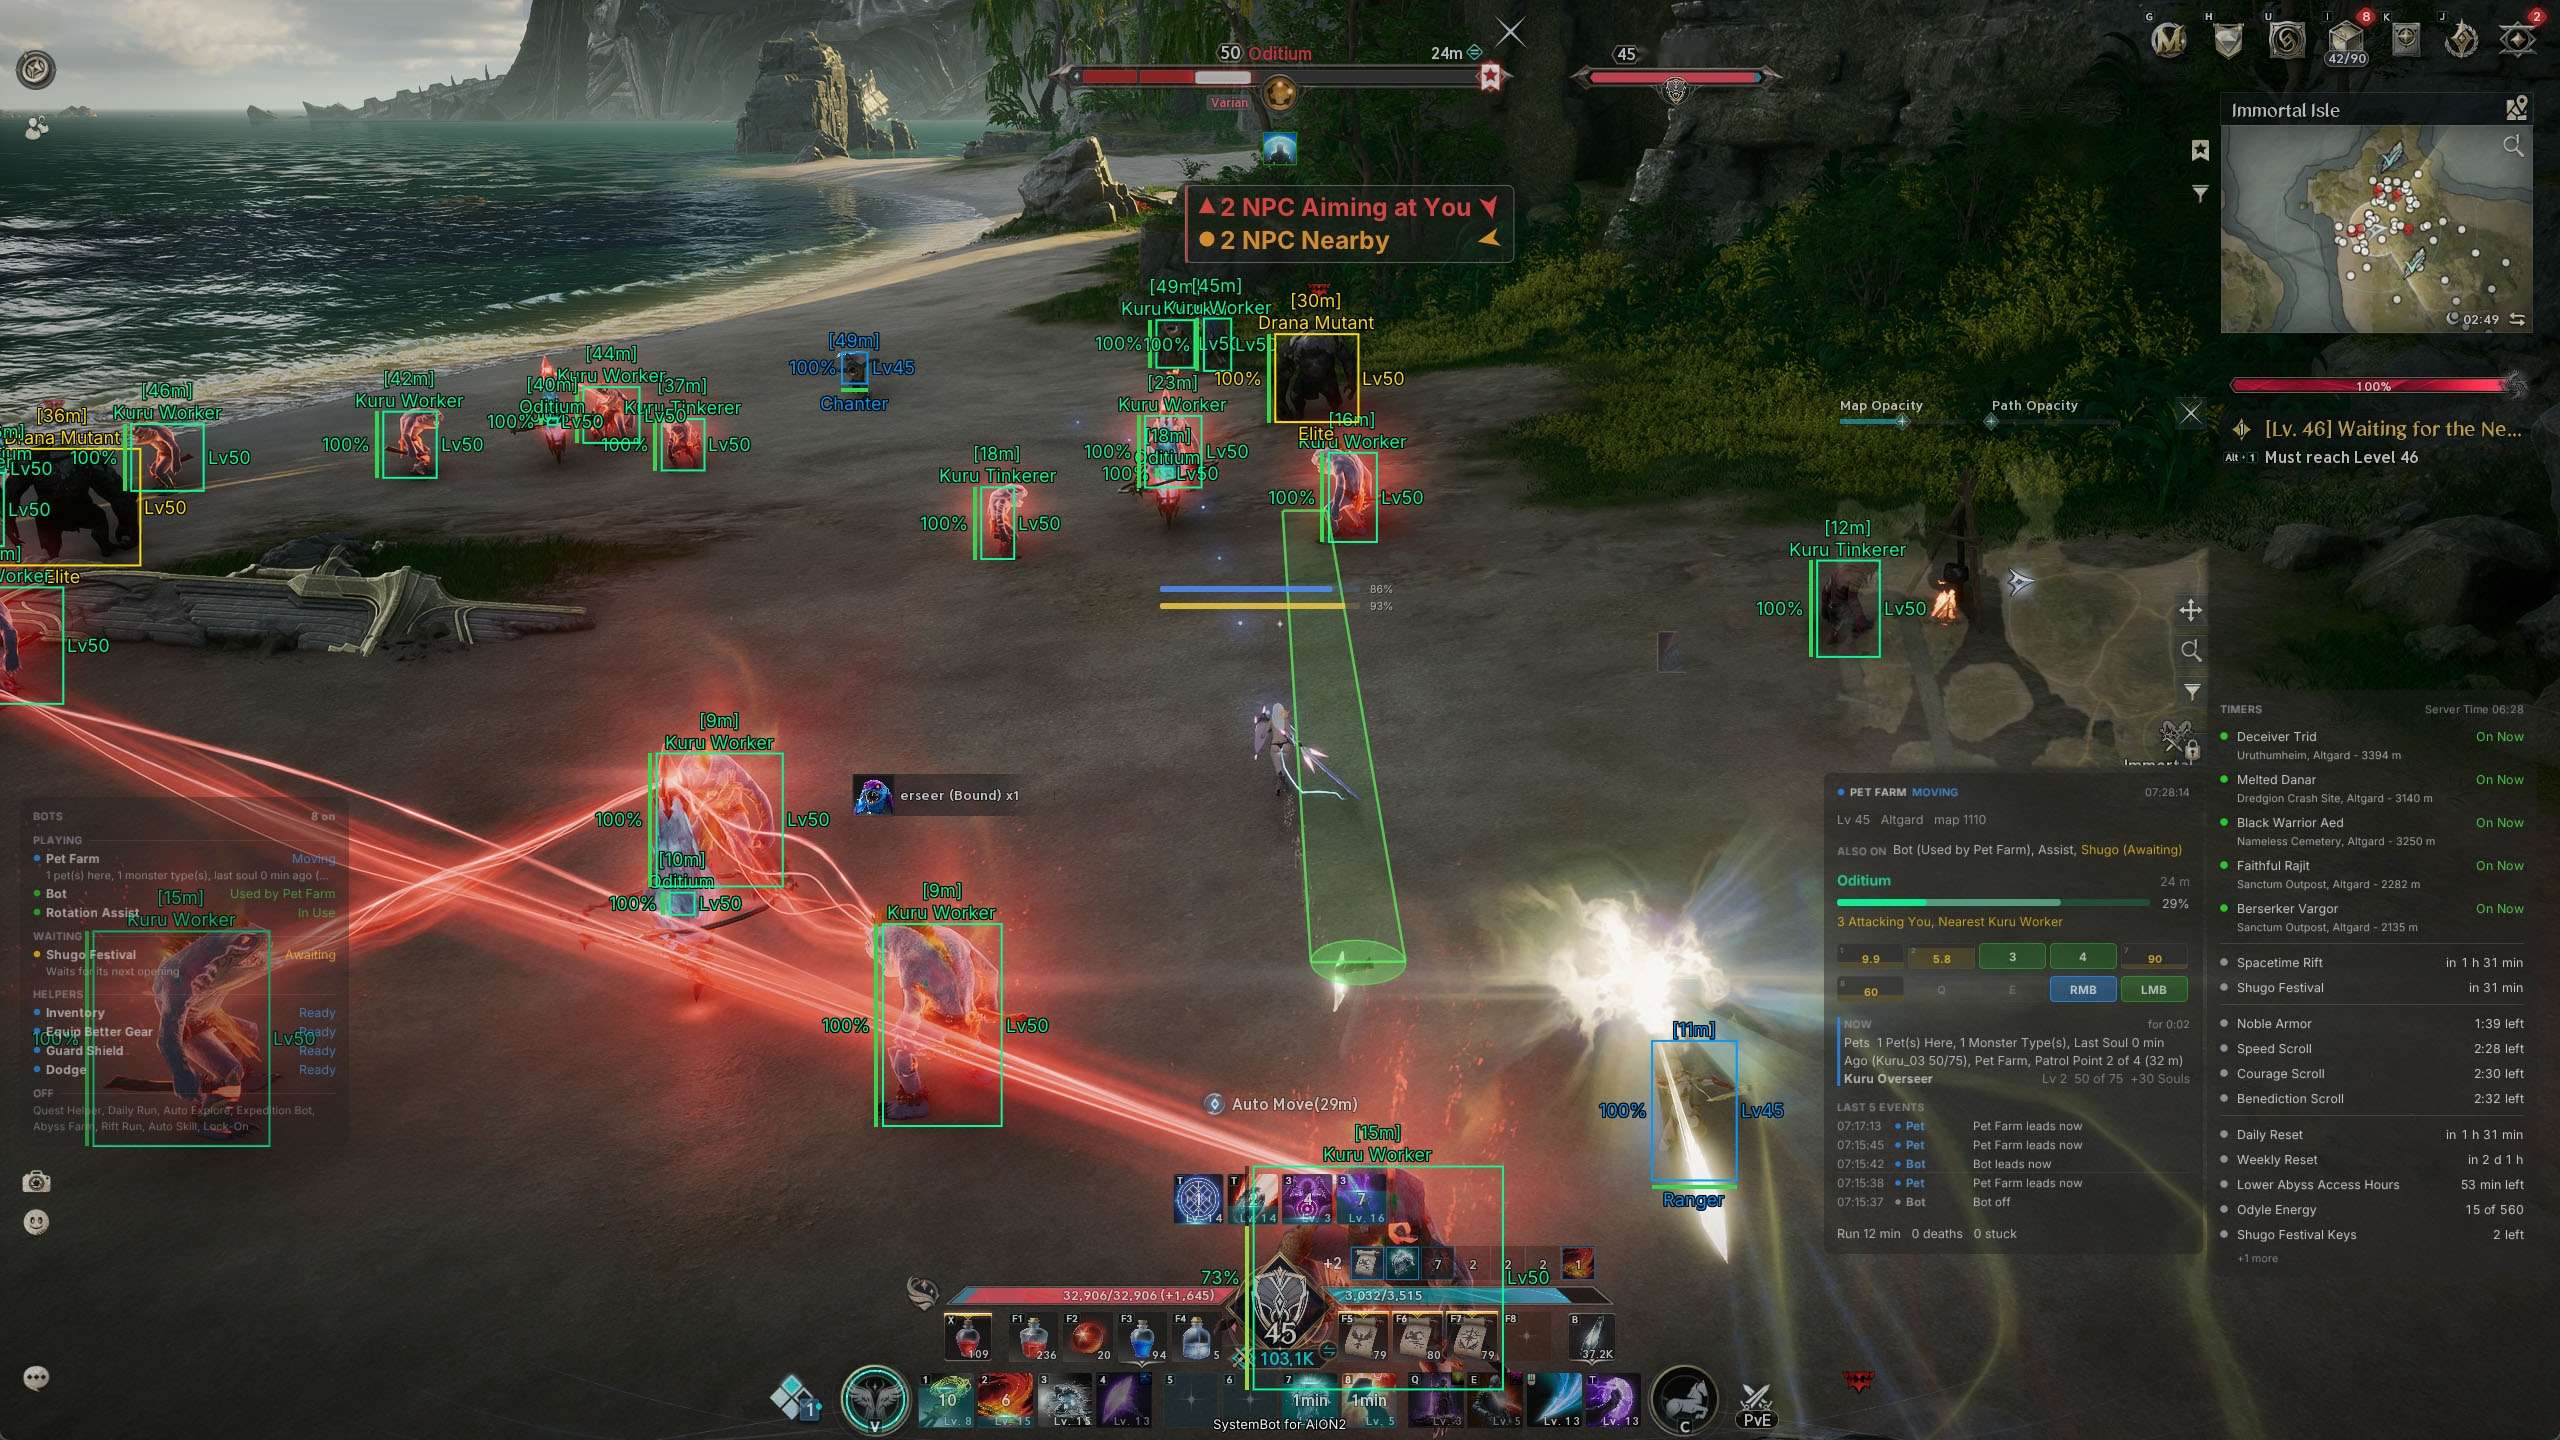
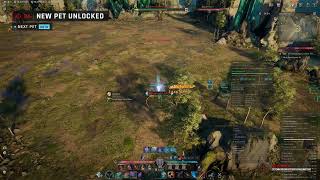
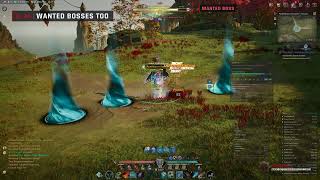
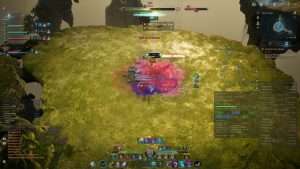
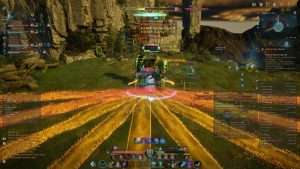
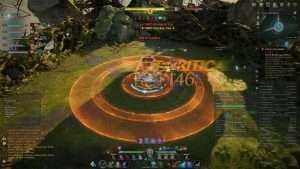
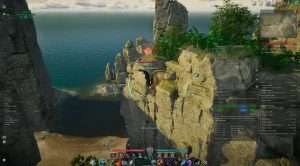
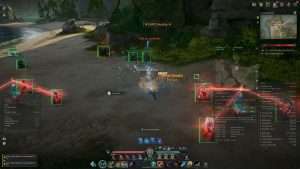
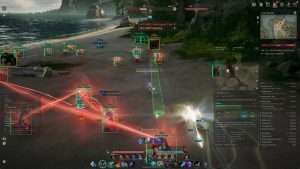
AION 2 Hack Rotation Assist fighting the boss Tiere with a party on Vakron Sky Island AION 2 ESP showing elite names, levels and distance in the Thamon boss fight AION 2 Bot Assist in the Boulder Lord Vakron boss fight AION 2 Pet Farm bot flying to a Hidden Cube on Immortal Isle AION 2 Cheat Pet Farm fighting Kuru monsters with ESP boxes and an elite warning AION 2 ESP showing every monster on the Immortal Isle beach with distance and level

AION 2 Bot Assist for Your Class Rotation

The Global classes are Gladiator, Templar, Assassin, Ranger, Sorcerer, Spiritmaster, Cleric and Chanter. In the bot’s class list the Spiritmaster page is called Elementalist. Their roles differ, and the AION 2 Bot Assist settings give you control over the rotation. Turn on Use Class Profiles to use the detected class’s page. Rotation Assist uses your skills for you while you play by hand. Hold its key, or set the key to toggle.

The automated tasks fight with the same class settings. Skip Skills on Cooldown passes over unavailable skills. Follow Combo Chains uses the next combo skill the game lights up. The Classes tab separates Skill Slots from Skill Order. Choose your skill setup and order there. Keep Distance (Kite) supports ranged spacing. Get Behind Elites and Bosses handles rear positioning, while Templar has Get in Front of Elites and Bosses. Enable the movement you want for the role you play.

AION 2 Leveling Bot for the Story Quests

The AION 2 Leveling Bot runs the story quests for you. Quest Helper plays your quests by itself, talking, fighting and using objects on the way. Skip Dialogue and Skip Cutscenes keep the story moving. The Quests setting picks the main story, side quests, both, or the nearest quest first. Pick Up Side Quests Nearby takes side quests offered nearby. Collect Traces First adds nearby Empyrean Traces, and Gather While Questing uses the kinds selected under Gathering.

For long trips, Teleport to Far Quests uses a scroll to jump close to the next quest, then walks the rest of the way. Do Expeditions While Questing plays the story expeditions on the route. As you level, Spend Skill Points spends your skill points and Spend Stigma Points learns and levels your Stigmas, so your skills grow on the way.

AION 2 Automation for Gathering and Daily Tasks

The Bot combines Gather and Grind. Gathering uses the selected nodes and pickups, while grinding fights nearby monsters with your class settings. You can work around your position or along a recorded path. Daily Run plays the parts of the Daily page you turn on, in order. Claim Daily Attendance takes your attendance rewards, Nightmare plays your Nightmare attempts and Use Command Scrolls plays your town Command quests. With Accept Duties by Itself it also takes duty offers, the top offer first.

Teleport to Far Duties (Uses a Scroll) jumps close to a far duty, and Stop After Hours ends the session when you want. Pet Farm fights soul monsters for unfinished pets. Stop When Bag Is Full and Pause When a Player Is Near keep long sessions under your control. Between tasks, Auto Loot picks up drops, Equip Better Gear wears upgrades and Extract Gear breaks down the grades and levels you pick. Keep Marketable Items holds back gear you could sell on the market.

AION 2 Bot for Sealed Dungeons and Strongholds

Sealed dungeons and strongholds are solo activities within character progression. Auto Explore selects an open, unfinished place and clears it before moving to another. Sealed Dungeons and Strongholds choose the kinds to include, and Harder Locations adds the places with keys or traps. Inside, Solve Floor Puzzles solves the floor puzzles and Open Treasure Chests opens the extra chests.

The bot clears all sealed dungeons and strongholds to 100%, escort strongholds included. While the story runs, Do Sealed Dungeons checks for suitable places within your chosen radius. Do Strongholds clears nearby strongholds the same way. Group runs use Expedition Bot, which plays the expeditions you pick, follows the group and opens the reward cube when you have the Odyle Energy for it.

Rift Run and Abyss Farm in AION 2

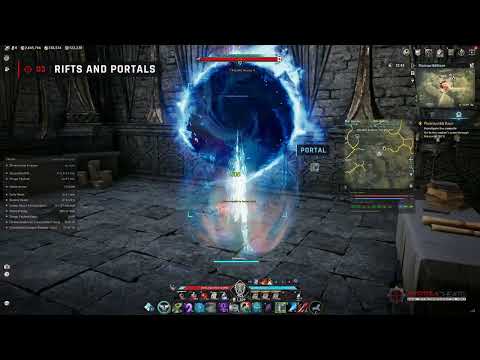
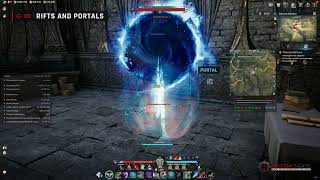
A Rift visit takes you into the opposing faction’s territory. The Abyss is a separate faction area. The AION 2 bot has controls for both, with different tasks and entry behavior. Rift Run walks to an opening portal and enters. Their Sealed Dungeons and Their Strongholds select activities on the other side.

The bot checks the time left on the visit before it starts one. Guard Shield keeps the bots away from enemy guards, with no take-off or flight near them. For the Abyss, Enter the Abyss handles entry to the Lower Abyss. Abyss Farm works in Lower Reshanta by itself. Fight Monsters picks monster spots near your level or follows a recorded path.

Gather Odyle gathers the Odyle in the air and Collect Empyrean Traces takes the Abyss traces. Turn on any mix of the three. Use Wind Elixirs keeps you flying when flight runs low. If an enemy player attacks, Counterattack Enemy Players fights back and Use Power Shards on Players turns your Power Shards on for that fight.

When your Abyss time runs low, it goes home. For arena play, PvP Arena Bot (1 vs 1) plays 1 vs 1 matches for you and stops after the losses in a row or the number of matches you set. PvP Skill Order on each class page sets a separate skill order for fights against players.

Avoidance and Recorded Paths for AION 2 Bot

Combat movement and travel need different controls. Dodge Attack Zones moves you out of the red zones on the ground and works with no bot running too. The class page’s Dodge choice sets which zones to handle. Use Dodge Roll rolls out of attack zones, while Save Stamina for a Dodge keeps enough Stamina for one roll. Avoid Damage Fields keeps you out of fields on the ground that hurt.

Perfect Dodge rolls just before a hit lands, and Use Safe Spots stands where a boss’s big hit does not land. Avoid Projectiles, Avoid Lasers and Avoid Ground Traps handle bolts, trap lasers and ground traps. Record Path records movement while walking, gliding, flying or swimming. Pause Recording in Fights leaves combat movement out of the recorded route. Draw Route makes the path visible, and Use As assigns it as a path, map route or shortcut. The Path Editor lets you change a route after you recorded it.

Visuals, Radar and HUD for Following Automation

The AION 2 cheat includes display tools to help you read the area and understand the bot’s activity. Player Name ESP, Player Class ESP and Player Race ESP identify player contacts. Player Combat Power ESP, Player Gear Score ESP and Player Abyss Grade ESP show how strong a player is. NPC Name ESP and NPC HP ESP provide information about NPCs. Filters choose which contacts to draw. Show Radar gives a separate view of contacts. Show Gather Nodes and Show Collectibles use the kinds enabled in the World tab. Show Path adds your picked path to the radar.

The Info Box brings vitals, target details and skill keys together. Bots Window lists tasks as active, off or waiting. Why Under Each Bot explains what a task is doing or why it waits. Boss or Elite Nearby and A Player Targets You add warnings. Skin Changer and Pet Look change your gear, wings, pet and mount look on your screen only. Use Configs to save a named setup and load it again without rebuilding your settings. The Stop Everything Key stops all bots and hides all visuals with one press, and a second press brings them back.

How to Get the AION 2 Cheat

Use the account and support pages to check access and prepare your setup.

01
Check Beta Access

Read the live cheat status page before buying. The bot is made for the Global PC version on Steam. The Korean and Taiwan versions are not supported.

02
Choose the Separate Subscription

Create a forum account to manage your subscription. AION 2 is sold as its own subscription. It is not included in the Premium Package or the One Day Trial.

03
Prepare Your Class Settings

Use the setup instructions supplied for beta access. Start with your class profile and skill order, then choose an automation task. Ask on the forum if you need help with the supported client or settings.

AION 2 Anti-Cheat and Account Risk

NC’s Global support identifies NCGuard as part of AION 2’s security system. NC’s rules prohibit unauthorized automation, and account penalties can apply. Rotation, movement and pause settings are controls, not protection from detection. Check the live cheat status page for product status. No cheat is ever completely risk free.

Frequently Asked Questions

Is it in the Premium Package?

No. AION 2 is sold as its own subscription. It is not included in the Premium Package or the One Day Trial.

Is the AION 2 bot online?

The AION 2 bot is in development. Access follows the beta. Check the live cheat status page before buying.

Does it level a character from level 1 to 45?

Yes. Quest Helper plays the story quests by itself and fights with your class settings.

Which anti-cheat does AION 2 use?

NC’s Global support identifies NCGuard. No cheat is ever completely risk free.

Does it run Rifts, the Abyss and dungeons?

Yes. Rift Run, Abyss Farm and Auto Explore are included. It clears all sealed dungeons and strongholds to 100%, escorts included.

Which PC version does it support?

The bot is for the Global Windows PC version on Steam only. The PURPLE launcher is not supported.

Can I tune the rotation for my class?

Yes. Use Class Profiles applies the detected class’s settings. Skill Slots and Skill Order control skill use.

Does it work on the Korean or Taiwan version?

No. The AION 2 bot is made for the Global version only. The Korean and Taiwan versions are not supported.

Plan Your Routine with the AION 2 Hack

Let the AION 2 bot do the playing, from quests and dailies to dungeons, Rifts, the Abyss and the PvP Arena. Choose the tasks that fit your character, set their limits and follow progress through the HUD. Paths, avoidance and the display tools support that work.

Need Help?

Ask about beta access, client compatibility or class settings on the SystemCheats forum. Include the task you want to run and the setting you need help with.

Cheat & Hack Information

What is AION 2?


AION 2 is the fantasy MMORPG from NC, set in the world of Atreia. Elyos and Asmodians level their characters through quests, sealed dungeons, strongholds and group expeditions, fly across the map, and fight the other faction in Rifts and the Abyss.


Cheating in AION 2


Our AION 2 bot is built around Bot Assist and Automation. It plays your class rotation with Rotation Assist, levels a character from level 1 to 45 with Quest Helper, clears sealed dungeons and strongholds with Auto Explore, and runs Daily Run, Pet Farm, Rift Run and Abyss Farm. It is sold as its own subscription for the Global version only, not in the Premium Package.


Is the AION 2 cheat safe?


AION 2 uses NCGuard on PC. No cheat is ever completely risk free. However, you can always adjust your settings to play legitimately for the long run. Check the live status page before you play.
Pricing

AION 2 is in development and will open as a beta, for the Global version only.

Halloween Sale20% OFF

Use code TRICKORCHEAT at checkout.Last day: November 2.See the sale

Premium Package

Not included

Features

Bot Assist
Rotation Assist Uses your skills for you when you play by hand. Hold the Rotation Assist Key to use it.
Rotation Assist Key Hold this key and your skills are used for you.
Skip Skills on Cooldown Skips skills that are not ready yet.
Follow Combo Chains Uses the next combo skill the game lights up.
Use Right-Click Skill Uses your Right-Click skill too.
Start Next Skill Early Starts the next skill before the last one ends.
Fight While Flying Uses your skills while you fly. Off, the bots land first.
Save MP Below (%) (0 ~ 90) Below this MP, only basic attacks are used.
Use Skills Again at MP (%) (10 ~ 100) Skills are used again at this MP.
Shortest Pause (ms) (0 ~ 500) The shortest wait between two skills.
Longest Pause (ms) (0 ~ 800) The longest wait between two skills.
Play to the Score Near the End Near the end of an arena match, plays safe when ahead. Goes all in when behind.
Fight Normal Monsters Fights normal monsters.
Fight Elites and Bosses Fights elites, named monsters and bosses.
Fight Enemy Players Fights enemy players.
Skip Monsters Others Fight Leaves monsters another player is fighting. Elites and bosses are still fought.
Auto Attack Everything Picks an enemy for you when you have none.
Target Priority (Nearest First, Nearest the Crosshair, Elites and Bosses First) Which enemy is picked first.
Fight Back First Fights the enemy that hits you first.
Fight Back Below HP (%) (0 ~ 100) A busy bot fights back only below this HP. 100 means always.
Keep Target Until Dead Stays on your target until it dies.
Max Target Distance (m) (3 ~ 60) Never picks enemies farther than this.
Walk Up to the Target Melee classes walk up to the enemy. Needs the game's Pursue Targets option on.
Auto HP Potion Drinks an HP potion from your F1 to F8 bar.
HP Potion Below (%) (5 ~ 90) Drinks at or below this HP.
Potion Priority (Higher Recovery First, Lower Recovery First, Best Fit) Which HP potion is used first.
Wait for the Game's Auto-Potion Lets the game's own auto-potion drink first.
Keep MP Cost Buff Keeps the lower MP cost potion buff on in fights.
Auto Healing Potion Drinks a Healing Potion to clear a bad effect.
Status Time Left (s) (0 ~ 10) Only when the effect lasts at least this long.
Auto Wind Serum Drinks a Wind Serum while flying.
Flight Power Below (%) (5 ~ 90) Drinks at or below this flight power.
Auto Break Free Breaks out of a stun with the escape skill. Your escape key must be Space.
Break Free Delay (s) (0 ~ 3) Waits this long after the stun starts. 0 breaks free at once.
Pick Up HP Orbs Picks up a red orb when your HP is low.
HP Orb Below (%) (5 ~ 95) Picks up red orbs below this HP.
Pick Up MP Orbs Picks up a blue orb when your MP is low.
MP Orb Below (%) (5 ~ 95) Picks up blue orbs below this MP.
Pick Up Stamina Orbs Picks up a green orb when your Stamina is low.
Stamina Orb Below (%) (5 ~ 95) Picks up green orbs below this Stamina.
Pick Up Speed Orbs Always picks up speed orbs.
Orb Distance (m) (3 ~ 40) How far it walks for an orb.
Classes
Use Class Profiles Fights with your own class page. Off, every class uses the settings below.
Move in Fights Lets the bot move you while it fights. Off, you stand still, but dodging still works.
Never Move While the Quest Walk Runs No fight moves while the quest walk runs. Dodging still works.
Fight Range (m) (0 ~ 25) Fights from this far. 0 means the basic attack's range.
Lock-On Target Keeps one target and turns your camera to it.
Circle Distance (m) (1.5 ~ 6) How close you stay while you circle the target.
Draw Target Circle Draws a ring round your target in a fight. It turns green when you stand right.
Fill Circle Fills the target circle with color.
Fill Opacity (%) (5 ~ 80) How solid the fill is.
Show Its Back Shows the target's back on its circle. It turns green while you stand there.
Show Its Front Shows the target's front on its circle. It turns red while you stand there.
Keep Distance (Kite) Steps away from monsters that come close.
Kiting Distance (m) (2 ~ 20) Holds this far from the target while kiting.
Kite Only Levels Above Me (0 ~ 10) Kites only monsters this many levels above you. 0 kites every monster.
Kite Only Elites Kites only elites, heroes, legends and named monsters.
Break Out When Cornered With a wall behind you, runs past the monster. Needs Keep Distance on.
Circle Around the Target Walks around the target while you fight.
Circle Step (m) (2 ~ 8) How far each step round the target goes.
Get Behind Elites and Bosses Stands behind elites and bosses. Hits in the back hit harder.
Get Behind All Enemies Does the same for every enemy.
Behind Cone (degrees) (30 ~ 180) How wide the spot behind its back is.
Hold Behind (No Spinning) Once behind it, you stand still.
Distance Behind Elites (m) (2 ~ 20) How far behind an elite or boss to stand.
Back Off Below HP (%) (0 ~ 80) Runs back when you get hit below this HP. 0 means never.
Dodge (Off, Big Only, All Zones) Which attack zones to dodge. Needs Dodge Attack Zones on.
Defensive Skills (On Cooldown, Save for Low HP) When to use your defensive skills.
Defensive Skills Below HP (%) (10 ~ 90) Uses defensive skills below this HP. Only with Save for Low HP.
Heal Myself Below HP (%) (10 ~ 95) Uses your heal skills below this HP.
Skill Key Rules (LMB, RMB, 1 to 8, Q, E) Every skill key has its own rule: Auto, Below HP, On Cooldown, Off or Gap Closer.
Skill HP (%) (5 ~ 95) With Below HP, that skill is used under this HP.
Gap Closer Distance (m) (3 ~ 25) With Gap Closer, that skill is used only past this distance.
Recast Every (s) (0 ~ 120) The shortest wait between two uses of a skill. 0 uses it as soon as it is ready.
Skill Order (Game Macro, My Sequence, Hold Game Macro) Picks the order your skills are used in.
My Sequence (8 Steps) Pick the skill for each step, used in this order.
PvP Skill Order (Same as Skill Order, Game Macro, My Sequence) The order used when the bot fights a player. With Fight Enemy Players, or a bot that fights players. Same as Skill Order keeps your order above.
PvP Sequence (8 Steps) Pick the skill for each step when the bot fights a player.
Own Page for Every Class Gladiator, Templar, Assassin, Chanter, Ranger, Sorcerer, Elementalist and Cleric each have their own page with every setting above.
Use This Profile Uses this page when you play this class. Needs Use Class Profiles on.
Automatic Skill Set Follows the skill set you pick in the game. Off, pick the set with the squares below.
Skill Set (1, 2, 3) The skill set this page shows and fights with. Each set keeps its own settings. Right-click a square to copy a set.
Keep-Away Distance (m) (2 ~ 20) Steps away when a monster comes closer than this.
Get in Front of Elites and Bosses Templar. Stands in front of elites and bosses. A Templar hits harder from the front.
Get in Front of All Enemies Templar. Does the same for every enemy.
Front Cone (degrees) (30 ~ 180) Templar. How wide the spot in front of it is.
Hold Front (No Spinning) Templar. Once in front of it, you stand still.
Distance in Front of Elites (m) (2 ~ 6) Templar. How far in front of an elite or boss to stand.
Heal Party Below HP (%) (0 ~ 95) Cleric. Heals a teammate who drops below this HP. 0 means never.
Avoidance
Dodge Attack Zones Moves you out of the red zones on the ground. Works with no bot running too.
Use Dodge Roll Rolls out of attack zones. Off, it only walks out.
Perfect Dodge Rolls just before a hit lands, so it misses you.
Save Stamina for a Dodge Always keeps enough Stamina for one dodge roll.
Attack Zone Safety Gap (m) (0 ~ 6) How far past a zone's edge it steps.
Ignore Attack Zones Under (% of HP) (0 ~ 50) Does not dodge zones that hit for less than this. 0 dodges every zone.
Use Safe Spots Stands in a boss's safe spot before a big hit.
Ignore Group Markers When Alone Ignores group markers when you play alone.
Avoid Damage Fields Keeps out of fields on the ground that hurt.
Ignore Damage Fields Under (% of HP) (0 ~ 20) Walks through fields that hit for less than this. 0 avoids every field.
Damage Field Safety Gap (m) (0 ~ 3) How far it keeps from a field's edge.
Avoid Boss Damage Fields Keeps out of fields a boss leaves on the floor. Needs Avoid Damage Fields on.
Stay Inside Arena Rings Stays inside an arena's safe circle.
Avoid Projectiles Steps out of the way of balls and bolts.
Talisra Orb Color (Unassigned, Dark Mist, White Water) Your orb color for Talisra. It picks up only that color.
Zone with No Timer Hits After (s) (0.3 ~ 1.5) When a zone with no timer is expected to hit.
Perfect Dodge Timing (s) (0.05 ~ 0.6) How early Perfect Dodge rolls before the hit.
Avoid Lasers Waits for or walks round trap lasers and pillars.
Roll Through Lasers Rolls through a laser instead of waiting.
Laser Safety Gap (m) (-1 ~ 1) How far it keeps from a laser.
Avoid Ground Traps Walks round traps monsters put on the ground.
Trap Safety Gap (m) (0 ~ 3) How far it keeps past where a trap goes off.
Avoid Spinning Turrets Steps out of the way of spinning turret blades.
Roll Through Turret Blades Rolls through a blade instead of going round. Needs Use Dodge Roll on.
Turret Safety Gap (m) (0 ~ 2) How far it keeps from a turret's blade.
Show Attack Zones Draws the attack zones on the ground.
Show Damage Fields Draws the damage fields.
Show Arena Rings Draws the arena rings and the safe circle inside.
Show Lasers Draws the trap lasers and pillars.
Show Ground Traps Draws the ground traps.
Show Turrets Draws the spinning turret blades.
Show Projectiles Draws the balls and bolts monsters throw.
Show Guard Shield Draws the circle the bots keep from enemy guards.
Show Safety Gap Draws a line where the dodge steps to.
Show Time Left Shows the time until each zone hits.
Show Damage Numbers Shows how much HP each zone took from you.
Zone Strength (%) (10 ~ 100) How strong the zones are drawn.
Automation
Bot Runs the Bot.
Gather Gathers nodes, traces and pickups.
Grind Fights the monsters around you.
Where (Around Me, Along a Path) Farm around you, or along a saved path.
Bot: Distance from Path (m) (5 ~ 100) How far from the path the Bot goes.
Fight Radius (m) (5 ~ 80) How far the Bot walks for the next monster.
Bot: Open Hidden Cubes First Opens Hidden Cubes nearby, if you have a key.
Give Up Stuck Goals Drops a goal it cannot reach and picks another.
Give Up After (s) (2 ~ 15) How long with no progress before it gives up.
Pause When a Player Is Near Pauses while another player is near.
Player Distance (m) (5 ~ 100) How close counts as near.
Stop When an Enemy Player Is Near Stops the bot when an enemy player comes near.
Stop on Death Stops the bot when you die.
Stop When Bag Is Full Stops the bot when your bag is full.
Stop After (min) (0 ~ 480) Stops the Bot after this many minutes. 0 means never.
When Verification Appears (Hold All Bots, Pause Gathering Only) What the bots do when a check appears. You always answer the check yourself.
Gathering Pause (min) (1 ~ 120) How long gathering stays off after a check.
Rest Below HP (%) (0 ~ 90) Bots sit and rest below this HP. 0 means never.
Revive After Death Every bot clicks revive when you die.
Bot: Revive with a Spiritstone Revives where you died with a Spiritstone.
Spiritstone in Group Dungeons Revives you with a Spiritstone in group dungeons.
Unstuck Moves Jumps and steps around when a bot gets stuck.
Unstuck After (s) (4 ~ 30) How long stuck before it tries to get free.
Fly When Stuck Flies to the goal when steps do not help.
Fly When There Is No Way on Foot Flies when walking cannot get there.
Wings Needed to Take Off (%) (50 ~ 100) Takes off only with this much wing power.
Fly Instead of Long Walks Around Flies straight when the walk goes far around.
Fly When It Saves Time (%) (10 ~ 80) How much faster flying must be. Lower flies more often.
Full Wings Fly About (m) (100 ~ 1000) How far full wings carry you.
Gather Radius (m) (0 ~ 3000) How far the Bot looks for things to gather. 0 means no limit.
Explore When Nothing Is in Sight With nothing in sight, walks to the nearest trace. Needs Empyrean Traces on.
Skip Contested Nodes Skips nodes another player is next to.
Teleport to Far Nodes (Uses a Scroll) Teleports to far nodes.
Gathering: Teleport Beyond (m) (200 ~ 2000) How far the node must be to teleport.
Empyrean Traces The one-time traces on the map.
Odyle Energy Cubes The Odyle Energy Cube chests in Expeditions.
Open Hidden Cubes Opens Hidden Cubes and boxes, if you have a key.
Gather Nodes Gathers the nodes ticked below.
Only Full Nodes Gathers only nodes that are still full.
Odyle Gathers Odyle nodes. Found on both factions' maps, the Abyss and Expeditions. Many float in the air.
Splendent Odyle Gathers Splendent Odyle nodes. Only in some Expeditions.
Mysterious Odyle Gathers Mysterious Odyle nodes. Only in some Expeditions.
Orichalcum Gathers Orichalcum nodes. Found on both factions' maps.
Sapphire Gathers Sapphire nodes. Found on both factions' maps.
Diamond Gathers Diamond nodes. Found on both factions' maps.
Ruby Gathers Ruby nodes. Found on both factions' maps.
Asvata Gathers Asvata nodes. On Altgard and Morheim.
Azpha Gathers Azpha nodes. On Altgard and Morheim.
Calendula Gathers Calendula nodes. On Altgard and Morheim.
Raydam Gathers Raydam nodes. On Altgard and Morheim.
Morfa Gathers Morfa nodes. On Altgard and Morheim.
Ohkra Gathers Ohkra nodes. On Altgard and Morheim.
Conide Gathers Conide nodes. On Altgard and Morheim.
Pujery Gathers Pujery nodes. On Altgard and Morheim.
Yggdrasil Gathers Yggdrasil nodes. On Verteron and Eltnen.
Aria Gathers Aria nodes. On Verteron and Eltnen.
Targena Gathers Targena nodes. On Verteron and Eltnen.
Mela Gathers Mela nodes. On Verteron and Eltnen.
Coriolus Gathers Coriolus nodes. On Verteron and Eltnen.
Kukuru Gathers Kukuru nodes. On Verteron and Eltnen.
Inina Gathers Inina nodes. On Verteron and Eltnen.
Cypri Gathers Cypri nodes. On Verteron and Eltnen.
Quest Helper Plays your quests by itself.
Quests (Main Story Only, Main Story, Then Side Quests, Side Quests Only, Nearest Quest First) Which quests to play.
Pick Up Side Quests Nearby Takes side quests offered nearby.
Ignore Spacetime Rift Quests Never plays Spacetime Rift quests.
Stop After No Progress (min) (1 ~ 15) With no progress this long, it leaves the quest.
Quest: Restart When Stuck on One Spot Restarts the Quest Helper when it is stuck on one spot.
Quest: Stuck on One Spot For (s) (20 ~ 180) How long on one spot counts as stuck.
Quest Fight Radius (m) (5 ~ 60) How far to look for the quest's own monsters.
Collect Traces First Takes nearby Empyrean Traces first.
Quest: Open Hidden Cubes First Opens Hidden Cubes first, if you have a key.
Trace Radius (m) (20 ~ 500) How far it goes for a trace or cube.
Gather While Questing Gathers on the way, as set on Gathering.
Teleport to Far Quests Teleports to far quests. Uses one scroll each time.
Quest: Teleport Beyond (m) (300 ~ 5000) How far the quest must be to teleport.
Quest: Bind Rest Stops on the Way Binds Rest Stops near you on the way.
Quest: Use Path Shortcuts Uses your saved shortcuts when they save time.
Do Sealed Dungeons Clears nearby sealed dungeons while questing.
Sealed Dungeon Radius (m) (50 ~ 1500) How far away a sealed dungeon may be.
Do Strongholds Clears nearby strongholds while questing.
Stronghold Radius (m) (50 ~ 1500) How far away a stronghold may be.
Do Expeditions While Questing Plays story expeditions while questing. Off, the Quest Helper stops at one.
Daily Run Plays every part of this page that is on, in order.
Stop After Hours (0 ~ 48) Stops after this many hours. 0 means never.
Claim Daily Attendance Claims your daily attendance rewards.
Nightmare Plays your Nightmare attempts now.
Nightmare Level (Next Level, Repeat Best Cleared Level) Which Nightmare level to play.
Nightmare Attempts to Keep (0 ~ 14) Attempts left for you to play. 0 uses them all.
Reward Priority The rewards you want most, top first.
Accept Duties by Itself Takes new duties by itself, best offer first.
Teleport to Far Duties (Uses a Scroll) Teleports to far duties.
Daily: Teleport Beyond (m) (200 ~ 2000) Teleports to duties farther than this.
Auto Refresh (Max a Day) (0 ~ 10) Refreshes offers with no wanted reward. 0 means never.
Kina to Keep (Thousands) (0 ~ 1000) Never spends Kina below this. 100 keeps 100,000 Kina.
Which Offers to Take (Best Rewards First, Only Wanted Rewards) Which duty offers it takes.
Wanted Reward Chance at Least (%) (10 ~ 100) The lowest chance a wanted reward may have.
Duties a Day (1 ~ 5) The most duties it takes a day.
Duty Kinds (Hunts Only, Hunts and Wanted Bosses) Which kinds of duty it takes.
A Duty It Cannot Do (Leave It and Go On, Wait for Me) What to do with a duty it cannot finish.
Skip After Deaths (1 ~ 5) Skips a duty after this many deaths in it.
Skip After No Progress (min) (3 ~ 30) Skips a duty with no progress for this long.
Use Command Scrolls Uses your town Command scrolls and plays them.
Command Redraws per Quest (0 ~ 10) Redraws a Command quest with no wanted reward. 0 means never.
Use Abyss Command Scrolls Plays your Abyss Command scrolls in the Abyss. Buy the scrolls yourself.
After the Plan (Wait for the Reset, Stop) What to do when the plan is done.
Today's Duties Today's duty offers and the ones you hold.
Auto Explore Clears sealed dungeons and strongholds, nearest first.
Sealed Dungeons Plays unfinished sealed dungeons in range.
Sealed Dungeon Range (m) (0 ~ 5000) How far away a sealed dungeon may be. 0 means no limit.
Strongholds Plays strongholds in range.
Stronghold Range (m) (0 ~ 5000) How far away a stronghold may be. 0 means no limit.
Max Level Above Me (0 ~ 10) Plays places up to this many levels above you.
Harder Locations Also plays the harder places, with keys or traps.
Solve Floor Puzzles Solves the floor puzzles in sealed dungeons.
Open Treasure Chests Opens the extra chests in caves and dungeons.
Open Orb Chests Opens the Orb Chests too.
Dungeons: Use Path Shortcuts Takes your saved shortcuts inside a place.
Dungeons: Fight Back Below HP (%) (0 ~ 100) Fights back below this HP inside a place. 100 means always.
Collect Traces on the Way Takes Empyrean Traces on the way.
Open Hidden Cubes on the Way Opens Hidden Cubes on the way, if you have a key.
Gather on the Way Gathers on the way, as set on Gathering.
On the Way Distance (m) (0 ~ 5000) How far it goes for a trace, cube or node.
Teleport to Far Places Teleports to far places. Uses one scroll each time.
Dungeons: Teleport Beyond (m) (300 ~ 5000) How far the place must be to teleport.
Dungeons: Bind Rest Stops on the Way Binds Rest Stops near you on the way.
Leave After No Progress (min) (1 ~ 15) With no progress this long, it leaves the place.
Skip Failed For (min) (5 ~ 240) How long a failed place is skipped.
Dungeons: Restart When Stuck on One Spot Restarts Auto Explore when it is stuck on one spot.
Dungeons: Stuck on One Spot For (s) (20 ~ 180) How long on one spot counts as stuck.
Expedition Bot Plays the expeditions in the Run Order below.
Open the Cube Opens the reward cube at the end with Odyle Energy. Off skips Conquest.
Cube Opens (1 ~ 2) How many times the reward cube opens.
Wait for Players (s) (10 ~ 150) How long to wait for other players.
Start Alone When Nobody Joins Starts an Exploration run alone after the wait.
Number of Runs (1 ~ 20) How many runs, then the bot rests.
Follow the Group Walks with the group inside a run.
Follow Distance (m) (5 ~ 40) How far you stay from the one you follow.
Fight Trash Below HP (%) (0 ~ 100) Below this HP, also fights trash that hits you. 0 means never, 100 means always.
Conquest: Elites Are Trash In Conquest, plain elites count as trash.
Play the Recorded Route Walks your recorded path for this dungeon.
Next Pick After a Failed Run After a failed run, starts the next pick. Off, the bot stops.
Retry Skipped Picks After (min) (10 ~ 120) How long a skipped pick waits before a retry.
Play (One After Another, Take Turns) Plays each pick in full, or takes turns.
At the End (Rest, Start Over) What to do when every pick is done.
Run Order Click a card to add it to the order.
Pet Farm Farms the monsters whose souls your pets need.
Pet Farm: Where (Best Spots, Along a Path) Farm the best spots, or loop a saved path.
Pet Farm: Distance from Path (m) (5 ~ 100) How far from the path it goes for a monster.
Farm Until (Max Level, Owned) When a pet counts as done.
Pet Farm: Max Monster Level Above Mine (0 ~ 15) Skips monsters more levels above you than this.
Leave a Spot After No Soul (min) (1 ~ 60) With no new soul this long, it moves on.
Wider Spot for Rare Monsters (m) (150 ~ 600) Makes the spot bigger for monsters far apart.
Camp One Spot Stays on one spot and fights what spawns there.
Camp Radius (m) (10 ~ 80) Fights only monsters this close to the camp spot.
Pet Farm: Fight Back Below HP (%) (0 ~ 100) Fights back below this HP. 100 means always.
Pet Farm: Open Hidden Cubes First Opens Hidden Cubes nearby, if you have a key.
Gather While Farming Gathers between monsters, as set on Gathering.
Pet Farm: Collect Empyrean Traces Collects Empyrean Traces between monsters.
Teleport to Far Spots (Uses a Scroll) Teleports to far spots.
Pet Farm: Teleport Beyond (m) (200 ~ 2000) How far the spot must be to teleport.
Join Rift When Available Goes through a rift for pets that live only there.
Join Abyss Farms the Abyss pets when this map is done.
Farm One Monster Farms the monster you selected, again and again. Needs Pet Farm on.
Farm Soul Crystals Farms Soul Crystals from your max-level pets. Needs Pet Farm on.
Fera Target (0 ~ 100000) How many Fera Soul Crystals you want. 0 means no target for it.
Natura Target (0 ~ 100000) How many Natura Soul Crystals you want. 0 means no target for it.
Varian Target (0 ~ 100000) How many Varian Soul Crystals you want. 0 means no target for it.
Cogni Target (0 ~ 100000) How many Cogni Soul Crystals you want. 0 means no target for it.
Farm (All Unfinished, Only Ticked) Farm every unfinished pet, or only ticked ones.
Pet Collection Your pets and their progress. Click a pet to tick it.
Abyss Farm Farms Lower Reshanta by itself. Pick what to farm in the rows below.
Farm (Aerial Gather, Combat) The old choice, replaced by the switches below.
Farm Mode Moved Set once the old Farm choice has moved to the switches.
Fight Monsters Fights monsters at the spots below.
Gather Odyle Gathers the Odyle in the air.
Abyss Farm: Collect Empyrean Traces Collects the Abyss Empyrean Traces.
Abyss Farm: Where (Best Spots, Along a Path) Farm the best spots, or follow a saved path.
Abyss Farm: Max Monster Level Above Mine (0 ~ 15) Skips monsters more levels above you than this.
Leave a Spot After No Kills (min) (1 ~ 30) With no kill this long, it moves to the next spot.
Return to Base When Nothing Gathered Goes back to base when there is nothing to gather.
Abyss Farm: Fight Back Below HP (%) (0 ~ 100) Fights back below this HP. 100 means always.
Abyss Farm: Open Hidden Cubes First Opens Hidden Cubes between fights, if you have a key.
Gather Nodes Between Fights Gathers ground nodes between fights.
Counterattack Enemy Players Fights an enemy player who hits you.
Use Power Shards on Players Turns Power Shards on against enemy players. Pick the shard in the game first.
Deaths in One Place Before Moving (0 ~ 5) Moves after this many deaths in one place. 0 means never.
Avoid That Place (min) (5 ~ 120) How long a place it left is skipped.
Wait at Base After a Death (s) (0 ~ 300) Waits this long at base after a revive.
Enter the Abyss Enters the Lower Abyss when you are outside it.
Use Abyss Artifacts Leaves the base through an Abyss artifact. Each use costs a Return Scroll.
Use Wind Elixirs Uses a Wind Elixir when flight runs low.
Leave When Abyss Time Below (min) (1 ~ 60) Goes home with less Abyss time than this.
PvP Arena Bot (1 vs 1) Plays 1 vs 1 arena matches for you. Leave your party first.
Keep Playing for Win Rewards Keeps playing until the win rewards are done too.
Stop After Losses in a Row (0 ~ 10) Stops after this many losses in a row. 0 means never.
Matches per Run (0 ~ 50) Stops after this many matches. 0 means no limit.
Queue Again After (min) (0 ~ 60) Joins the queue again after this long. 0 means it waits forever.
Rift Run Goes through each rift and plays over there.
Teleport Near the Rift (Uses a Scroll) Teleports near a far rift.
Their Sealed Dungeons Plays the other side's sealed dungeons.
Their Strongholds Plays the other side's strongholds.
Time Margin (min) (2 ~ 10) Spare time kept at the end of a visit.
Rift: Revive with a Spiritstone Revives with a Spiritstone in the rift.
Spiritstone Revives per Visit (0 ~ 40) The most Spiritstone revives in one visit.
Keep Spiritstones (0 ~ 100) Never uses your last this many Spiritstones. 0 means off.
Guard Shield Keeps every bot away from enemy guards.
Keep Away on Foot (m) (20 ~ 80) How far bots on foot stay from a guard.
No Flying Within (m) (20 ~ 120) No take-off, glide or flight this near a guard.
Show Nearest Guard Shows the nearest enemy guard on the status line.
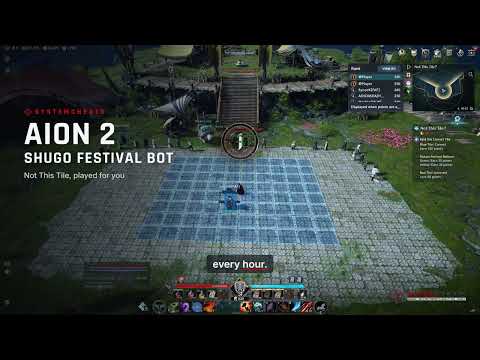
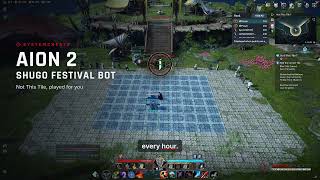
Not This Tile Joins and plays the Shugo Festival each hour.
Collect Bonus Orbs Grabs bonus orbs and gets back in time.
Roll to Far Orbs Rolls to reach far orbs and tiles faster.
Back on the Tile (s) (0.5 ~ 4) Is back on the safe tile this long before time is up.
Humanized Moves like a person while it waits.
Shugo Movement Speed Moves faster in the festival only.
Shugo Speed Multiplier (1 ~ 1.48) How much faster you move in the festival. 1.0 is normal.
Join with No Keys Joins even with no reward key left.
Leave a Dungeon to Join Leaves a dungeon to join the festival.
Join Late Joins late, when little join time is left.
Join at Time Left (s) (30 ~ 90) Joins when this much join time is left.
Take the Reward Opens the end reward with a key.
Leave When Done Leaves the festival when it is over.
Auto Loot Picks up drops near you.
Loot Distance (m) (1 ~ 40) Picks up when a drop is this close.
Equip Better Gear Wears better gear from your bag.
Use Wisdom Stone Uses every Wisdom Stone in your bag.
Use Daevanion Crystal Uses every Daevanion Crystal in your bag.
Register Pantheon Decor Adds your bound decor to your Pantheon.
Place Pantheon Decor Puts your decor into empty Pantheon slots.
Extract Gear Extracts gear you do not need.
Choose Gear By (My Grades and Levels, Game's Quick Select) Use the game's own choice or the rows below.
Grades Click the grades to extract.
Wear Level From (1 ~ 60) Only gear worn from this level up.
Wear Level To (1 ~ 60) Only gear worn up to this level.
Keep Marketable Items Keeps gear you could sell on the market.
Keep Supply Request Gear Keeps gear a Supply Request asks for.
Keep Gear as Good as Worn Keeps gear as good as what you wear.
Keep Crafting Gear Keeps gear a crafting recipe needs.
Sort Bag After Extract Sorts your bag after an extract.
Use Power Shards on Bosses Turns Power Shards on only against bosses. Pick the shard in the game first.
Use Power Shards on Elites Turns Power Shards on only against elites. Pick the shard in the game first.
Bag Shows what Extract Gear would take now.
Spend Skill Points Spends your skill points for you.
Spend Stigma Points Learns and levels your Stigmas.
Place Stigmas Puts learned Stigmas in empty slots.
Stop Spending at Level 45 Stops spending points at level 45.
Spend Daevanion Points Spends Daevanion Points to raise your skills.
Main Skills First Raises your 3 main skills first. Needs Spend Daevanion Points on.
Paths
Record Path Records the way you move as a new path.
Pause Recording in Fights Stops recording while you fight.
Recording Step (m) (1 ~ 10) How far apart the recorded points are.
Mark Spot Puts a note on the path where you stand.
Mark Kind (Wait Group, Careful, Hide Here, Boss Area, Note) What Mark Spot writes on the path.
Draw Route Shows the path on screen.
Paths: Path The path to show, play and edit.
New Empty Path Makes a new empty path on this map.
Delete Path Press twice to delete the picked path.
Rename The picked path gets the Path Name.
Make Copy Makes a copy of the path.
Use As (Just a Path, This Map's Route, A Shortcut) Use the path as this map's route or as a shortcut.
At the End (Stop, Loop) Stop or loop at the end of the path.
Walk (Exact Line, Shortest Way) Walk every point, or the shortest way.
Path Editor: Path Click a row to select it. Right-click a row for more.
Undo Takes the last change back.
Redo Puts an undone change back.
Nearest to Me Selects the path's point nearest you.
Under Crosshair Selects the point under the game's crosshair.
Previous Point Selects the point before.
Next Point Selects the point after.
Delete Selected Deletes the selected points.
Move Point to Me Moves the selected point to where you stand.
Add Point at Me Adds a point where you stand.
Delete All Before The path starts at the selected point.
Delete All After The path ends at the selected point.
Action The action to put on the point.
Wait Time (s) (1 ~ 10) How long you stand still for a Wait action.
Add Action Puts the Action on the selected point.
Replace Action Swaps the selected action for the Action above.
Remove Action Removes the selected action.
Re-Record from Point Records the path again from the selected point.
Clean Up Path Cuts out back and forth walking. Press once to see it, again to cut.
Back to Original Press twice to go back to the first recording.
Test Run Walks the path from the selected point, no fights.
Walk to Point The game walks you to the selected point.
Point Menu Look at a path point and press to edit it.
Visuals
Players: Bounding Box (None, 2D, 3D, Corner) Picks the box drawn around each target.
Players: Box Thickness (1 ~ 10) How thick the box line is.
Player Name ESP Shows the target's display name.
Player Distance ESP Shows the distance to the target.
Player HP ESP (None, Left, Right, Top, Bottom) Picks the side of the HP bar. None hides it.
Player HP Percent ESP Shows the target's HP as a percent number.
Players: Snapline (None, Bottom, Center, Top) Draws a line from the screen to the target.
Players: Head Dot Marks the target's head with a dot.
Players: Head Dot Size (2 ~ 20) How big the head dot is.
Players: Max ESP Distance (m) (0 ~ 1500) Hides targets farther away than this. 0 means no limit.
Show Enemy Player Shows players who are your enemies.
Show Friendly Player Shows players who are on your side.
Players: Show Visible Only Hides targets behind walls.
Show Party Members Shows players in your party.
Show Legion Members Shows players in your legion.
Player Class ESP Shows the player's class.
Player Level ESP Shows the player's level.
Player Race ESP Shows Elyos or Asmodian.
Player Legion ESP Shows the player's legion name.
Player Buffs ESP Shows how many buffs the player has.
Player Combat Power ESP Shows the player's combat power.
Player Gear Score ESP Shows the player's gear score.
Player Abyss Grade ESP Shows the player's Abyss ranking grade.
Player Rift PvP ESP Shows when the player's Rift PvP is on.
NPCs: Bounding Box (None, 2D, 3D, Corner) Picks the box drawn around each target.
NPCs: Box Thickness (1 ~ 10) How thick the box line is.
NPC Name ESP Shows the target's display name.
NPC Distance ESP Shows the distance to the target.
NPC HP ESP (None, Left, Right, Top, Bottom) Picks the side of the HP bar. None hides it.
NPC HP Percent ESP Shows the target's HP as a percent number.
NPCs: Snapline (None, Bottom, Center, Top) Draws a line from the screen to the target.
NPCs: Head Dot Marks the target's head with a dot.
NPCs: Head Dot Size (2 ~ 20) How big the head dot is.
NPCs: Max ESP Distance (m) (0 ~ 1500) Hides targets farther away than this. 0 means no limit.
Show Enemy NPC Shows hostile NPCs, such as monsters.
Show Friendly NPC Shows friendly NPCs, such as townsfolk and guards.
Show NPC Elites Shows elites and bosses in their own color. Off hides them.
Color Enemy Guards Draws enemy guards in their own color.
NPCs: Show Visible Only Hides targets behind walls.
Aggressive Only Hides monsters that do not attack on sight.
Show Townsfolk Shows merchants and other town people.
Show Pets and Summons Shows pets and summoned helpers.
Grade ESP Shows the monster's rank, like Elite or Boss.
Level ESP Shows the monster's level.
World
Empyrean Trace ESP Shows Empyrean Traces.
Trace Distance (m) (0 ~ 1500) Hides this kind farther away than this. 0 means no limit.
Hidden Cube ESP Shows Hidden Cubes, both Light and Dark.
Cube Distance (m) (0 ~ 1500) Hides this kind farther away than this. 0 means no limit.
Other Pickup ESP Shows Odyle Energy Cubes and similar things to pick up.
Pickup Distance (m) (0 ~ 1500) Hides this kind farther away than this. 0 means no limit.
Landmark ESP Shows portals, kisks, rifts, monoliths and dungeons.
Landmark Distance (m) (0 ~ 1500) Hides this kind farther away than this. 0 means no limit.
Sealed Dungeon ESP Shows sealed dungeon entrances and if they are done.
Sealed Dungeon Distance (m) (0 ~ 1500) Hides this kind farther away than this. 0 means no limit.
Hide Finished Sealed Dungeons Sealed dungeons you have finished are not drawn.
Stronghold ESP Shows stronghold gates and if they are done.
Stronghold Distance (m) (0 ~ 1500) Hides this kind farther away than this. 0 means no limit.
Hide Finished Strongholds Strongholds you have finished are not drawn.
Kibelisk ESP Shows the rest stop obelisks and if you are bound.
Kibelisk Distance (m) (0 ~ 1500) Hides this kind farther away than this. 0 means no limit.
Quest ESP Shows objects that quests use.
Quest Distance (m) (0 ~ 1500) Hides this kind farther away than this. 0 means no limit.
Orb Distance (m) (0 ~ 300) Hides orbs farther away than this. 0 means no limit.
HP Orbs (Red) Red orbs restore part of your HP.
MP Orbs (Blue) Blue orbs restore part of your MP.
Stamina Orbs (Green) Green orbs restore Stamina.
Other Orbs Shows orbs of any other color.
Gather Distance (m) (0 ~ 1500) Hides gathering spots farther away than this. 0 means no limit.
Show Uses Left Shows how many uses each node has left.
Odyle Draws Odyle nodes. Found on both factions' maps, the Abyss and Expeditions. Many float in the air.
Splendent Odyle Draws Splendent Odyle nodes. Only in some Expeditions.
Mysterious Odyle Draws Mysterious Odyle nodes. Only in some Expeditions.
Orichalcum Draws Orichalcum nodes. Found on both factions' maps.
Sapphire Draws Sapphire nodes. Found on both factions' maps.
Diamond Draws Diamond nodes. Found on both factions' maps.
Ruby Draws Ruby nodes. Found on both factions' maps.
Asvata Draws Asvata nodes. On Altgard and Morheim.
Azpha Draws Azpha nodes. On Altgard and Morheim.
Calendula Draws Calendula nodes. On Altgard and Morheim.
Raydam Draws Raydam nodes. On Altgard and Morheim.
Morfa Draws Morfa nodes. On Altgard and Morheim.
Ohkra Draws Ohkra nodes. On Altgard and Morheim.
Conide Draws Conide nodes. On Altgard and Morheim.
Pujery Draws Pujery nodes. On Altgard and Morheim.
Yggdrasil Draws Yggdrasil nodes. On Verteron and Eltnen.
Aria Draws Aria nodes. On Verteron and Eltnen.
Targena Draws Targena nodes. On Verteron and Eltnen.
Mela Draws Mela nodes. On Verteron and Eltnen.
Coriolus Draws Coriolus nodes. On Verteron and Eltnen.
Kukuru Draws Kukuru nodes. On Verteron and Eltnen.
Inina Draws Inina nodes. On Verteron and Eltnen.
Cypri Draws Cypri nodes. On Verteron and Eltnen.
World Box ESP Draws a box around each object.
World Name ESP Shows the object name.
World Distance ESP Shows the distance next to each object.
World Distance Fade Fades objects the farther away they are.
Show Used Objects Also shows things you have already collected.
World Stack Distance (m) (0 ~ 50) Groups nearby objects with the same name. 0 turns it off.
World Stack Count (2 ~ 10) How many it takes to make a group.
Item Box ESP Draws a box around each dropped item.
Item Name ESP Shows the name of each dropped item.
Item Distance ESP Shows the distance next to each dropped item.
Item Distance Fade Fades items the farther away they are.
Item Stack Distance (m) (0 ~ 50) Groups nearby items with the same name. 0 turns it off.
Item Stack Count (2 ~ 10) How many it takes to make a group.
Ground Loot ESP Shows items dropped on the ground.
Ground Loot Distance (m) (5 ~ 300) Hides dropped items farther away than this.
Radar
Show Radar Draws the radar on screen.
Show Cross Draws two lines crossing in the middle of the radar.
Show Window Draws the outer border of the radar.
Show Compass Draws a compass ring around the radar.
Compass Width (8 ~ 40) How wide the compass ring is.
Compass Opacity (%) (0 ~ 100) Fades the compass ring.
Show Player Marker Draws your own marker at the radar center.
Show FOV Draws a wedge for what your camera sees.
Show Path Shows your picked path on the radar.
Scroll to Zoom The mouse wheel over the radar zooms it. Only while the menu is open.
Pin to Screen Center Pins the radar over your crosshair.
Shape (Square, Circular) Makes the radar square or round.
Radar Scale (m) (5 ~ 500) How far the radar reaches to its edge.
Window Size (45 ~ 500) How big the radar is.
Cross Size (45 ~ 500) How long the cross lines are.
Background Fill (0 ~ 100) Adds a fill behind the radar.
Radar: Max Distance (m) (0 ~ 1500) Hides targets past this distance. 0 means no limit.
Marker Size (2 ~ 20) How big the radar markers are.
Marker Shape (Triangle, Dot) Sets the marker shape.
Out of Range (Hide, Pin to Rim, Draw Anywhere) What happens to a marker past the radar edge.
Stack Distance (0 ~ 60) Joins markers this close into one. 0 turns it off.
Stack Count (2 ~ 10) How many markers it takes to join.
Ring Labels Shows the distance on each range ring.
Range Rings (0 ~ 4) Draws distance rings in the radar. 0 turns them off.
Ring Opacity (%) (0 ~ 100) Fades the rings and their text.
Radar: Show Enemy Player Shows enemy players on the radar.
Radar: Show Friendly Player Shows friendly players on the radar.
Radar: Show Visible Player Only Shows only players you can see.
Radar: Show Enemy NPC Shows hostile NPCs on the radar.
Radar: Show Friendly NPC Shows friendly NPCs on the radar.
Radar: Show NPC Elites Shows elites and bosses in their own color.
Radar: Show Visible NPC Only Shows only NPCs you can see.
Show Gather Nodes Shows gather nodes on the radar.
Show Collectibles Shows traces, cubes, pickups and orbs on the radar.
Radar: Label Layout Click a box to pick what it shows. Right-click a box for its size.
Show Arrows Points arrows at people and monsters off screen.
Ring Shape (Circle, Ellipse, Screen Edge) Where the arrows sit on screen.
Ring Radius (60 ~ 420) How far the arrows sit from the center.
Show the Ring Draws the ring as a faint line, to help you set up.
Off-Screen Only Points only at targets off screen.
Threats Only Points only at enemies that see or aim at you.
Arrows: Max Distance (m) (0 ~ 1500) No arrows past this distance. 0 means no limit.
Max Arrows (1 ~ 24) The most arrows shown, nearest first.
Arrows: Show Enemy Player Points at enemy players.
Arrows: Show Friendly Player Points at friendly players.
Arrows: Show Visible Player Only Points only at players you can see.
Arrows: Show Enemy NPC Points at hostile NPCs.
Arrows: Show Friendly NPC Points at friendly NPCs.
Arrows: Show NPC Elites Points at elites and bosses in their own color.
Arrows: Show Visible NPC Only Points only at NPCs you can see.
Arrow Shape (Triangle, Chevron, Teardrop) Sets the arrow shape.
Arrow Size (6 ~ 34) How big the arrows are.
Arrow Opacity (%) (10 ~ 100) Fades the arrows.
Bigger When Closer Arrows grow as their target gets closer.
Fainter When Far Fades an arrow out with distance.
Outline Draws a dark edge around each arrow.
Color By (Class, Threat Tier, One Color) Picks what the arrow color shows.
Mark Behind You Arrows are hollow for targets behind you.
Above or Below Hint Marks targets far above or below you.
Fade Into View Fades an arrow as its target comes on screen.
Merge Overlapping Joins arrows that point the same way.
Pulse on Appear Flashes an arrow once when it first shows.
Smoothing (0 ~ 90) Smooths the arrows while you turn.
Arrows: Label Layout Click a box to pick what it shows. Right-click a box for its size.
Modifiers
Movement Speed Makes you move faster.
Speed Multiplier (1 ~ 1.48) How much faster you move. 1.0 is normal.
Fly Speed Multiplier (1 ~ 1.4) How much faster you fly. Needs Movement Speed on.
Dash Range Dashes and dodges go farther.
Dash Range Multiplier (1 ~ 1.4) How much farther you dash. 1.0 is normal.
Jump Height Makes you jump higher.
Jump Height Multiplier (1 ~ 1.8) How much higher you jump. 1.0 is normal.
Animation Speed Your character's moves play faster. Attacks do not get faster.
Animation Multiplier (1 ~ 1.36) How much faster your moves play. 1.0 is normal.
Player Near Distance (m) (5 ~ 150) A player this close counts as near. Your party and legion do not count.
Speed Off Near Players Normal speed while a player is near.
Dash Off Near Players Normal dash while a player is near.
Animation Off Near Players Normal animation speed while a player is near.
Camera Distance Lets the camera zoom out farther. Set the game's own camera distance to the farthest.
Max Zoom Out (1 ~ 5) How far the camera can pull back. 1.0 is normal.
Camera FOV Changes how wide your view is.
FOV (degrees) (30 ~ 170) Bigger shows more of the world.
Skins
Skin Changer Changes your look on your screen only.
Wardrobe Pick a slot, then click a skin to wear it.
Helmet The skin this slot wears while Skin Changer is on.
Chest The skin this slot wears while Skin Changer is on.
Gloves The skin this slot wears while Skin Changer is on.
Boots The skin this slot wears while Skin Changer is on.
Shoulders The skin this slot wears while Skin Changer is on.
Pants The skin this slot wears while Skin Changer is on.
Cape The skin this slot wears while Skin Changer is on.
Greatsword The skin this slot wears while Skin Changer is on.
Longsword The skin this slot wears while Skin Changer is on.
Dagger The skin this slot wears while Skin Changer is on.
Bow The skin this slot wears while Skin Changer is on.
Spellbook The skin this slot wears while Skin Changer is on.
Orb The skin this slot wears while Skin Changer is on.
Mace The skin this slot wears while Skin Changer is on.
Staff The skin this slot wears while Skin Changer is on.
Earring Right The skin this slot wears while Skin Changer is on.
Earring Left The skin this slot wears while Skin Changer is on.
Necklace The skin this slot wears while Skin Changer is on.
Eye Accessory The skin this slot wears while Skin Changer is on.
Face Accessory The skin this slot wears while Skin Changer is on.
Shoulder Accessory The skin this slot wears while Skin Changer is on.
Wings The skin this slot wears while Skin Changer is on.
Pet Look Changes your pet's look on your screen only.
Riding Look Too Your mount shows the picked pet too.
Restore Real Pet Shows your real pet and mount again.
Pets Click a pet to show it.
Warning
Warning System Shows a panel that warns about nearby enemies.
Show Header Shows the title strip above the warnings.
Uppercase Writes the warnings in capital letters.
Draw Panel Background Draws a card behind the warnings.
Max Distance (m) (0 ~ 1500) Ignores enemies farther away than this. 0 means no limit.
Aiming at You Warns when an enemy aims at you.
Aiming Angle (degrees) (0 ~ 180) How exact the aim must be. Smaller is stricter.
Can See You Warns when an enemy can see you.
Seeing Angle (degrees) (0 ~ 180) How wide an enemy can see.
Enemies Nearby Warns about enemies within Max Distance.
Guard Warning Warns when enemy guards are near.
Guard Warning Distance (m) (0 ~ 300) Warns about guards closer than this. 0 means no limit.
Split Player and NPC Shows players and NPCs on their own lines.
Show Counts Shows how many, like 3 NPC Nearby.
Keep Empty Rows Keeps empty rows in place, greyed out.
Worst Threat Only Shows only the most dangerous line.
Direction Arrow Adds an arrow to the nearest one.
Arrow Side (Left, Right) Puts the arrow on the left or right of the text.
Threat Icon Marks each kind of threat with a shape.
Icon Side (Left, Right) Puts the icon on the left or right of the text.
Color by Threat Colors each line by how dangerous it is.
Stripe Follows Worst Colors the panel edge like the worst line.
Pulse on New Warning Flashes a line twice when it first appears.
Hold Time (ms) (0 ~ 3000) How long a warning stays after it ends. 0 removes it at once.
Background Opacity (%) (0 ~ 100) Fades the warning panel's background.
Text Opacity (%) (0 ~ 100) Fades the warning text.
Linked Size (12 ~ 30) The size of every row while Link All Sizes is on.
Font Boldness (Default, Bold) Makes the warning text bold or normal.
Font Shadow (None, Bordered, Shadow) The outline or shadow behind the text.
Show Enemy Player Counts enemy players as threats.
Show Friendly Player Counts players on your side too.
Show Visible Player Only Counts only players you can see.
Show Enemy NPC Counts hostile NPCs as threats.
Show Friendly NPC Counts friendly NPCs as threats.
Show NPC Elites Counts elites and bosses. Works even with Show Enemy NPC off.
Show Visible NPC Only Counts only NPCs you can see.
Link All Sizes Every row uses the Linked Size.
Row Order Drag a row to move it. Right-click a row to change its look.
Boss or Elite Nearby A pop-up when an elite or boss is near. Needs Notifications on.
Enemy Player Nearby A pop-up when an enemy player is near. Needs Notifications on.
A Player Targets You A pop-up when another player targets you. Needs Notifications on.
HUD
Info Box A small card with your vitals, target and skills. Drag it while the menu is open.
Info Box: Only in Combat or While Helpers Run Shows the card only in a fight or while a bot plays.
Info Box: Snap to Screen Edges The card snaps to the screen edges. Hold Alt to place freely.
Full Text List Shows a plain text list instead of the card.
Info Box: Scale (%) (70 ~ 200) How big the card is.
Vitals Your HP, MP, Stamina, Flight Points and Oxygen bars.
Target Your target's name, HP and distance.
Skill Keys Your skill keys. Green is ready, grey is not ready yet.
Where You Are Shows your level and the map name.
Bots That Are On Lists the other bots that are on.
What It Does Now Shows what the bot is doing now.
Last Events Lists the last events, newest on top.
Counters Shows play time, deaths and times stuck.
Daily Gathering Limit Shows how much you gathered today and the limit.
Next Timers (Off, 1 Line, 2 Lines, 3 Lines) Shows the next timers at the bottom of the card.
Event Rows (3 ~ 10) How many events the card lists.
Event Times (Clock, Time Ago) Shows the clock time or how long ago.
Merge Repeats Repeats of one event share a row, like x6.
Small Events Also lists kills, loot and items used.
Clear Events Empties the event list and the counters.
Info Box: Bar Style (Bar, Text, Both) Shows a bar, a number or both.
Info Box: Numbers (Percent, Value, Value and Max) How the numbers are written.
Info Box: HP Bar (Off, Default, Bar, Text, Both) Your HP.
Info Box: MP Bar (Off, Default, Bar, Text, Both) Your MP.
Info Box: Stamina Bar (Off, Default, Bar, Text, Both) Your Stamina.
Info Box: Flight Bar (Off, Default, Bar, Text, Both) Your Flight Points.
Info Box: Oxygen Bar (Off, Default, Bar, Text, Both) Your Oxygen under water.
Info Box: Flight and Oxygen Only When Used Shows Flight and Oxygen only while they are used.
Info Box: Stamina Only Below Full Stamina shows only while it is below full.
Info Box: Overall Opacity (%) (10 ~ 100) Fades the whole card.
Info Box: Background Opacity (%) (0 ~ 100) Fades the card's background.
Info Box: Text Opacity (%) (10 ~ 100) Fades the card's text.
Info Box: Corner Radius (0 ~ 16) Rounds the card's corners.
Info Box: Border Draws a thin line around the card.
Status Stripe A colored stripe down the left edge.
Who Plays and the Clock Shows which bot plays, its state and the clock.
Compact Makes the card smaller.
Info Box: Pixel Shift Moves the card a little now and then. This protects OLED screens.
Info Box: Shift Every (min) (1 ~ 15) How often it moves.
Info Box: Dim When Idle Fades the card when nothing changes for a while.
Info Box: Idle After (s) (5 ~ 120) How long before the card dims.
Info Box: Idle Opacity (%) (10 ~ 100) How bright the card stays when it dims.
Info Box: Fade Full Bars Hides a bar while it is full.
Info Box: Text Brightness (%) (50 ~ 100) Softens white text.
Vitals Over Character Shows your HP and MP bars over your character.
Vitals: Only in Combat or While Helpers Run Shows the bars only in a fight or while a bot plays.
Height (m) (-1.5 ~ 3) How high above your character the bars sit.
Scale (%) (50 ~ 200) How big the bars are.
Width (60 ~ 400) How wide the bars are.
Vitals: Bar Style (Bar, Text, Both) Shows a bar, a number or both.
Vitals: Numbers (Percent, Value, Value and Max) How the numbers are written.
Labels Shows a short name in front of each bar.
Vitals: HP Bar (Off, Default, Bar, Text, Both) Your HP.
Vitals: MP Bar (Off, Default, Bar, Text, Both) Your MP.
Vitals: Stamina Bar (Off, Default, Bar, Text, Both) Your Stamina.
Vitals: Flight Bar (Off, Default, Bar, Text, Both) Your Flight Points.
Vitals: Oxygen Bar (Off, Default, Bar, Text, Both) Your Oxygen under water.
Vitals: Flight and Oxygen Only When Used Shows Flight and Oxygen only while they are used.
Vitals: Stamina Only Below Full Stamina shows only while it is below full.
Vitals: Overall Opacity (%) (10 ~ 100) Fades everything here.
Vitals: Background Opacity (%) (0 ~ 100) Fades the dark plate behind the bars.
Vitals: Text Opacity (%) (10 ~ 100) Fades the numbers and labels.
Vitals: Corner Radius (0 ~ 16) Rounds the plate's corners.
Vitals: Pixel Shift Moves the bars a little now and then. This protects OLED screens.
Vitals: Shift Every (min) (1 ~ 15) How often it moves.
Vitals: Dim When Idle Fades the bars when nothing happens for a while.
Vitals: Idle After (s) (5 ~ 120) How long before the bars dim.
Vitals: Idle Opacity (%) (10 ~ 100) How bright the bars stay when they dim.
Vitals: Fade Full Bars Hides a bar while it is full.
Vitals: Text Brightness (%) (50 ~ 100) Softens white text.
Timers Window A small window with game timers. Drag it while the menu is open.
Soon Warning (min) (1 ~ 30) How early a timer turns amber and warns you.
Max Lines (0 ~ 16) The most lines the window shows. 0 shows every line.
Timers: Scale (%) (70 ~ 200) How big the window is.
Timers: Snap to Screen Edges The window snaps to the screen edges. Hold Alt to place freely.
Server Time at the Top Shows the game server's clock at the top.
Spacetime Rift When the next Spacetime Rift opens and closes.
Shugo Festival When the next Shugo Festival opens.
Dimensional Invasion Shows while a Dimensional Invasion is open.
Abyss Events Shows Abyss events while they are on.
Field Bosses Shows field bosses that are up and coming next.
Field Bosses Shown (1 ~ 10) How many bosses to show.
Bosses Within (Hours) (0 ~ 48) Hides bosses that come later than this. 0 means no limit.
Buffs Shows your long buffs.
Item Cooldowns Shows hotbar items that are cooling down.
Buffs and Items Longer Than (s) (10 ~ 600) Hides buffs and cooldowns shorter than this.
Dungeon Time Left Time left in the dungeon you are in.
Daily Reset When the daily entries and limits refill.
Weekly Reset When the weekly entries and limits refill.
Abyss Hours Your Abyss hours left.
Odyle Energy Your Odyle Energy.
Shugo Festival Keys Your Shugo Festival keys left.
Expedition Rewards Rewards left for each expedition.
Pop-Up Before Spacetime Rift A pop-up before a Spacetime Rift opens.
Pop-Up Before Shugo Festival A pop-up before the Shugo Festival opens.
Timers: Overall Opacity (%) (10 ~ 100) Fades the whole window.
Timers: Background Opacity (%) (0 ~ 100) Fades the window's background.
Timers: Text Opacity (%) (10 ~ 100) Fades the window's text.
Timers: Corner Radius (0 ~ 16) Rounds the window's corners.
Timers: Border Draws a thin line around the window.
Timers: Pixel Shift Moves the window a little now and then. This protects OLED screens.
Timers: Shift Every (min) (1 ~ 15) How often it moves.
When Nothing Is Soon (Show, Dim, Hide) What the window does while no timer is close.
Dimmed Text (%) (30 ~ 100) How bright the text stays while dimmed.
Timers: Text Brightness (%) (50 ~ 100) Softens white text.
Bots Window A small window that lists every bot and what it does. Drag it while the menu is open.
Only While a Bot Is On Hides the window when no bot or helper is on.
Max Lines (0 ~ 20) The most lines the window shows. 0 shows every line.
Bots Window: Scale (%) (70 ~ 200) How big the window is.
Bots Window: Snap to Screen Edges The window snaps to the screen edges. Hold Alt to place freely.
Why Under Each Bot Says what each bot does or why it waits.
Helpers Lists the helpers that are on too.
Bots That Are Off (Hide, One Line, Full Rows) How the bots that are off are listed.
Bots Window: Overall Opacity (%) (10 ~ 100) Fades the whole window.
Bots Window: Background Opacity (%) (0 ~ 100) Fades the window's background.
Bots Window: Text Opacity (%) (10 ~ 100) Fades the window's text.
Bots Window: Corner Radius (0 ~ 16) Rounds the window's corners.
Bots Window: Border Draws a thin line around the window.
Bots Window: Pixel Shift Moves the window a little now and then. This protects OLED screens.
Bots Window: Shift Every (min) (1 ~ 15) How often it moves.
Bots Window: Text Brightness (%) (50 ~ 100) Softens white text.
Misc
Menu Key Shows or hides the menu. The default key is Delete.
Panic Key (Hide All Visuals) Hides every visual at once. Press it again to bring them back.
Stop Everything Key Stops every bot and hides every visual at once. Press it again to bring everything back.
Pause Bots While Menu Is Open Bots wait while the menu is open.
Snap Panels to Grid Dragged panels snap to a grid. Hold Alt to place freely.
Grid Columns (2 ~ 48) How many columns the grid has.
Grid Rows (2 ~ 32) How many rows the grid has.
Full Streamproof Hides the menu from recordings and screenshots.
Draw FPS Draws the current frame rate top-center.
Draw Resolution Draws the screen resolution top-left.
Draw Time Draws the current time top-right.
Draw Watermark Draws the watermark bottom-center.
Draw HP Bar Shows your HP as a bar. Drag it while the menu is open.
Draw HP Bar Percent Draws the HP Percent on the bar.
Overlay Opacity (%) (10 ~ 100) Fades the FPS, resolution, time and watermark.
HP Bar Opacity (%) (10 ~ 100) Fades the HP bar.
Game HUD Opacity (%) (0 ~ 100) Fades the game's own HUD. 100 is normal.
Remove Player Names Hides the names over other players.
Remove Player (Boost FPS) Hides other players for more FPS.
Menu Scale (%) (50 ~ 200) How big the menu is.
Overlay Frame Rate (30 ~ 480) How often the menu's drawings update. Lower uses less power.
No Render Stops all drawing, the menu too. The Menu Key turns it back on.
Font Boldness (Default, Bold) Makes the on-screen text bold or normal.
Font Shadow (None, Bordered, Shadow) The outline or shadow behind the on-screen text.
Font Size (12 ~ 30) How big the on-screen text is.
Crosshair (None, Dot, Cross, T-Cross, X) Draws a crosshair in the middle of the screen.
Crosshair Size (1 ~ 20) How big the crosshair is.
Crosshair Thickness (0.5 ~ 5) How thick the lines are.
Crosshair Gap (0 ~ 10) The gap in the middle.
Notifications Shows pop-up cards for keys, switches and bot warnings.
Notify Keybinds Shows a card when you set or clear a key.
Notify Toggles Shows a card when a key turns a feature on or off.
Notify Setting Changes Shows a card when you change a slider.
Position (Bottom Left, Bottom Right, Top Left, Top Right, Top Center) Where the cards show on screen.
Duration (s) (1 ~ 10) How long each card stays.
Max Visible (1 ~ 8) How many cards show at once.
Fade Duration (s) (0 ~ 1.5) How long a card takes to fade.
Skip Dialogue Skips NPC talk and accepts quests for you.
Skip Cutscenes Skips cutscenes.
Position Readout Shows your coordinates and map.
Filters
Filter Lists Build named lists of players, NPCs, items and objects to show or hide, by name or by type, and every visual obeys them.
Colors
Colors Recolour anything the menu draws: every box, label, line, marker, warning and the menu itself, grouped by the tab it belongs to.
Keybinds
Keybinds Every switch that has a key, gathered in one place. Each key can be Hold, Toggle or Always On, and the Panic Key hides every visual at once.
Settings
Configs Save everything under a name, load it in one press or with its own key, Auto Save, notes, copy / paste to share, and Reset to Default.